How to Repot a Juniper Bonsai
Like any other plant, bonsais need proper care and maintenance, and hence, need to be repotted on a timely basis. The trees derive their nourishment from the soil, and by replanting it, you can replenish the supply of those essential nutrients.
Let’s learn how to repot a Juniper bonsai in simple steps so that you can keep your tree healthy.

Image courtesy of 4.0 International
A Step-by-Step Guide to Repot a Juniper Bonsai
Firstly, you must know when is the right time to repot your Juniper. The best way to find out is to examine its root system. Gently lift the plant from its pot and have a look at its roots. If they are circling around themselves, it’s a sign that you need to repot the tree.
If you don’t do so on time, the roots would gradually take over and displace the soil, depriving the tree of its nutrients. Generally, if your Juniper bonsai is younger, you can repot it once a year, but if it’s fully grown, you can wait for up to three years before repotting it.
Secondly, you should know the right time of the year to replant your tree. Late winter or early spring is ideal for repotting, as Junipers are coming out of dormancy. Since there’s no full foliage growth during this period, pruning the roots won’t stress out the tree.
It’s better to perform pruning on the roots just before the growing season. If you repot during dormancy, the roots might not heal and get rots or diseases.
Once you have determined the need for repotting and you’re in the right season, you must remove the soil from the pot. To do so, lift the Juniper from the pot and remove the old soil as much as possible. You can use a tool for removing the soil or your fingers. If there’s an entanglement of the roots, gently disentangle them as well.
After removing the soil, any extra roots or the ones that are too long should be pruned. Also, remove any roots that appear to be rotting as they might infect the Juniper at a later stage. It’s a good idea to remove only up to 25% of the total mass of roots.
Lastly, after trimming the roots, place the tree back in its pot. Fill the pot to the brim with a potting mix that’s ideal for your tree. For Junipers, choose the soil that provides good drainage. They prefer slightly acidic soil (pH 5.0 to pH 7.0). Ideally, the potting mix consists of soil, Hummus, and decomposed granite.
Water your bonsai once you have successfully replanted it.
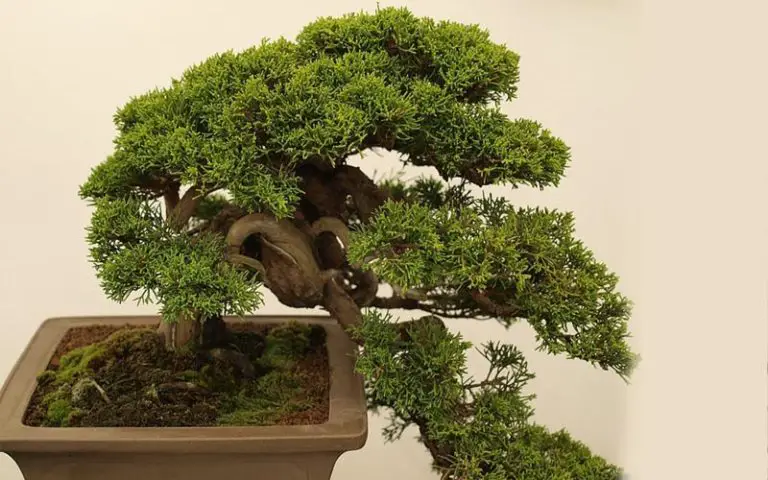
Image courtesy of 4.0 International
Juniper Bonsai Tips
Here are some things you must know if you have just bought a Juniper bonsai:
- Juniper is unsuitable for indoor use and needs plenty of sunlight to thrive. It’s an outdoor tree. Care must be taken during winter when the temperature drops below -10 C; that’s when you should keep it under a shade protected from the natural elements. There shouldn’t be any heating vents around the tree. You should make sure not to keep it indoors for extended periods.
- The pot should have proper drainage as too much soil wetness isn’t good for the tree. Also, the type of soil should allow for drainage; else, there could be problems with root rots.
- Watering your bonsai shouldn’t be neglected. It’s best to evaluate your tree’s requirements for the first few weeks of its purchase and then determine its watering schedule. The soil shouldn’t get too dry before you rewater it.
- Fertilizing the Juniper is also essential. If you’re using a general liquid fertilizer, you should add it to the tree every month, except during winter months when it’s in dormancy.