How to Shape a Cascading Juniper Bonsai
Cascading bonsais represent a tree growing on the mountainsides leaning out or facing the river. The river’s water reflects sunlight onto the tree, causing it to bend that way. It also bends downwards due to its own weight and that of the snow and natural elements. You can also shape your tree in a similar way.
Let’s explore how to shape a cascading Juniper bonsai.
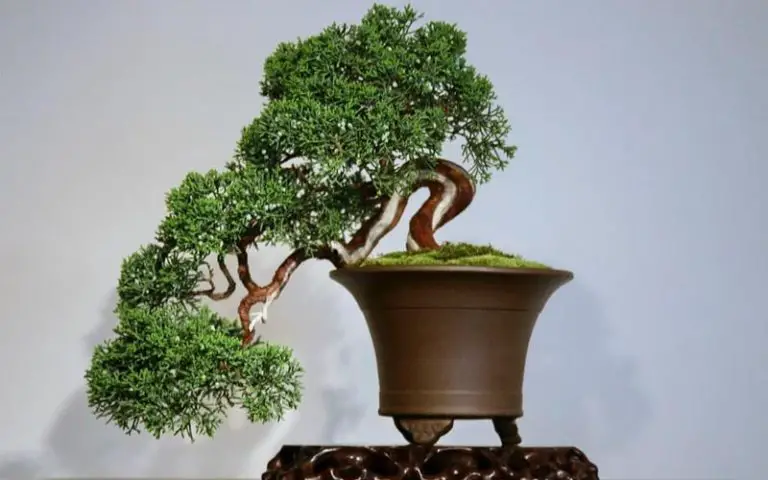
Image courtesy of 4.0 International
The Basics of Shaping a Cascading Juniper Bonsai
Kengai bonsai is the Japanese term for a cascading bonsai. It’s a popular styling technique and gives the plant the effect of a waterfall. A typical cascade has two parts; one branch grows upwards like normal, while the main branch grows down. You need to wire the branches carefully to hold the shape.
The best juniper varieties for cascade are Chinese Juniper, Japanese Garden Juniper, Needle Juniper, Green Mound Juniper, and Juniper Communis.
There are two types of cascade bonsais. In a full cascade, the tip falls below the bottom of its container; and in a semi-cascade, the tip is somewhere between the tree’s base and the rim of the pot. Chinese juniper is a suitable type for a semi-cascade style.
To shape your juniper tree into a cascade, you need a tall vessel with drainage holes in it. A shallow container is unsuitable for a cascading juniper bonsai. Granular soil makes good compost, ideally consisting of peat, Japanese pumice, Orchid bark, and black sand. Along with the pruning tools, you should also have some wires handy for shaping the tree.
The Process
The first thing before you begin to shape your bonsai is to take it out of the container. To do this, turn the pot upside down, grab the plant from the top and let it come out naturally.
Once you have the plant out of the container, mark the top and trailing portion. Remove half of the branches, including any small branches growing from the trunk.
Now comes the wiring process. It would help if you wired three-fourth of the tree. Anchor a thick wire around the column’s base. Don’t wrap it too tightly, as it can damage the tree. Once you have placed the anchoring wire, bend the trunk to a cascading shape.
Cut about 20-30% of the rootlets to place them in the pot. Fill the soil on top of them and plant your bonsai in it. Once you have planted it back in the pot, wire the trailing column, but not too tightly.
Continue to wire as and when needed when the plant grows.
Pruning your Juniper Bonsai
Regularly pruning the bonsai is essential as it keeps the tree in shape and keeps the pests at bay. When the trunk begins to grow and swell up, you should remove the wires and rewire the bonsai accordingly. Depending on the growth rate, you might have to remove the wires anywhere between three months and a year.
Keep an eye out for any branches that need shortening. To thin the narrow stems, use small scissors. To make small bunches of foliage on the ends of the branches, pinch them back simply by using your fingers.
Continue wiring the trunk as per its shape or if more bending is required.
Once the tree has become established, repot it every three to five years. Every time you repot, prune the roots too.
Transfer your cascading bonsai to a decorative pot to enhance its look even further.
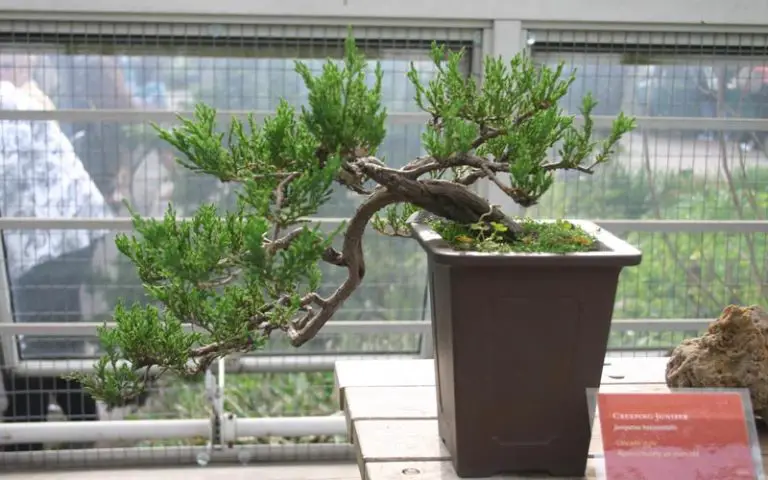
Image courtesy of 4.0 International
Final Thoughts
A cascade bonsai is, without a doubt, a beautiful addition to your space and is very much worth the effort. Some other popular bonsai tree styles are broom style, windswept bonsai style, slanting bonsai style, upright style, and forest bonsai style.