Agriculture is defined as the cultivation of the soil for the growing of crops and the rearing of animals. Horticulture is the cultivation and management of gardens. Vermiculture is the cultivation of earthworms – especially to use them to convert organic waste into fertilizer.
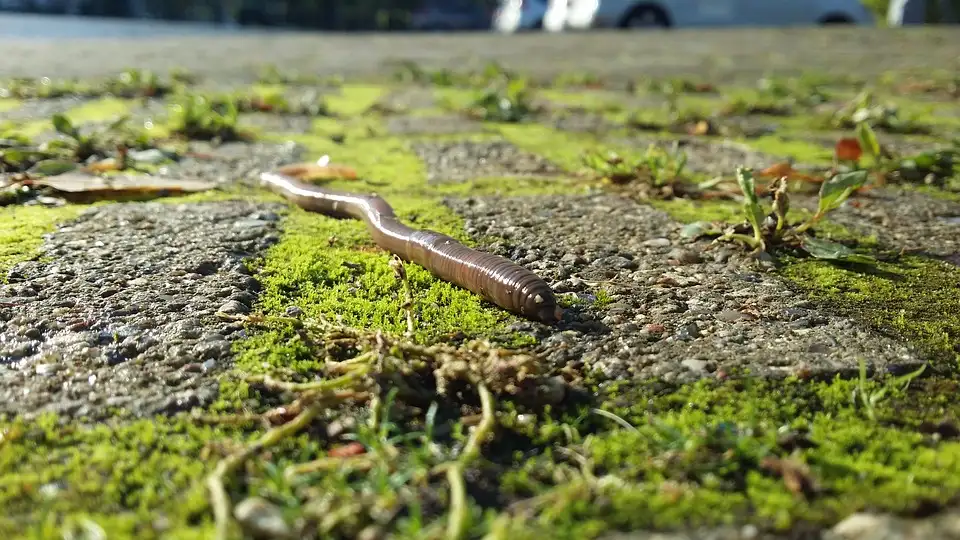
Most people with big gardens are probably already familiar with the small squiggly mounds of mud you find in your lawn after the earthworms have been at work: once the mud dries, they are quite painful to tread on with bare feet. But these worm castings are very nutritious for plants. They have a high nitrogen content, and are also rich in proteins, minerals, your household, you will also have a never-ending supply of worm castings. What is more, the liquid that leaks out of the basins of castings can be used both as a liquid fertilizer and as a natural pesticide.
I had a worm farm, several years ago, which I got from Hex Worm Farms in the Durban area, KZN (South Africa). This article is mainly based on the information booklet that came with my worms, which were red saddle backs (Eisenia fetida) –
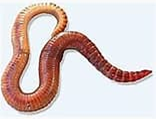
[picture credit: Wikipedia]
– but presumably different countries and climates have slightly different varieties that work best for them. Accordingly, the information in this article should be used as a general guide only, and may not be applicable to all worm farms everywhere.
This is what my wormery from Hex looked like (see below): a bottom bowl with tap, a large bin, and four round basins that fit one on top of the other inside the bin. The four basins are not solid, but have a kind of mesh for their bottoms, so that liquid can easily drain out. When your farm is up and running, you will add vegetable matter to the basins every week, which the worms will consume and convert into castings. The liquid created in the process will collect at the bottom of the bin, and you will be able to pour it out through the tap.
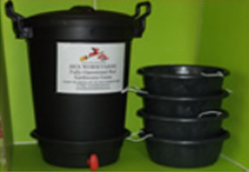
[picture credit: Hex worm farms]
To set up this kind of a worm farm, here is the process:
On the floor, place the basin with the tap, standing slightly off the ground (use four bricks on their sides, or something of similar height). Use the 2l of worm tea provided to fill this basin (up to the bottom edge of the hole for the tap). Then put the bin into this bottom basin. For outside worm farms, tape a wide strip of plastic onto the bin, above the edge of the basin, so that any rain runs off the plastic without getting into the bottom basin (rain in the basin would dilute the worm tea to the point that it was ineffectual).
Then take the first of the other bowls and line it with newspaper (the absorbent kind, not the glossy kind). Use something small, like coke bottle lids, on the bottom of the bin, just to keep the bottom of this first bowl slightly raised off it. Put a small helping of food in the middle, and tip the worms onto the food.
A bin-sized worm farm can be placed outdoors, in a garage or shed, on a balcony or verandah, or even in the house – the bins are not very large, and completely odorless. Pretty much the only restriction is that you need to protect your worms from extreme temperatures. At the absolute outside, worms can handle temperatures between about 5°C and 37°C (41-98.6°F), but they prefer moderate temperatures, so try not to let them get into the extreme ends of this spectrum.
At first, about half a cup of mixed and shredded organic materials once a week should be enough.
In much the same way I said you need to add a good balance of soft and/or wet, and hard and/or dry, material to your compost heap, you need to feed your worms a mix of ‘greens’ and ‘browns.’ Having a good green vs. brown balance helps with the aeration of the bin contents, and also provides the composting microbes with a good nutritional balance.
The greens don’t have to be literally green in color, but they are anything soft and juicy. Greens tend to have a high nitrogen content, and nitrogen is a critical element in proteins and amino acids – so feeding your worms plenty of greens is important if you want them to be able to grow and multiply.
Decomposing greens – especially fruit, or anything sugary or starchy – often attract flies. That’s why it’s a good idea to scoop up some of the worm castings with your trusty plastic spoon, and insert these greens underneath the worm castings. (Does that sound familiar? It’s exactly the same idea I mentioned in my ‘Making your own compost’ article: cover up anything too juicy or smelly with a layer of something neutral.)
The browns often are brown in color, but can include anything hard and/or dry. You usually need to crush your browns, or at least break them into smaller pieces, and slightly dampen them, before you offer them to your worms.
In fact, it’s not just the hard browns that should be crushed: the smaller the size of the pieces of any food you give your worms, the faster the food will be broken down. A higher number of smaller particles has a greater surface area than a lower number of larger particles, which means the particles have a greater surface area for the microbes to get stuck into.
If you give your worms a good mix of greens and browns, finely chopped or crushed, their environment should naturally maintain the right level of humidity. If the bowls seem very dry, you might need to place a single sheet of damp newspaper over those bowls, as worms breathe through their skin, and won’t be able to breathe properly if they are dried out. However, it shouldn’t be necessary to go the damp newspaper route, and if you find you need to do this, it could be a sign that something is going wrong with your composting process.
Example Browns
Straw, dead/dried weeds, autumn leaves, hard skins/peels (chopped/crushed), eggshells (also crushed), newspaper, cardboard, wood chips/shavings
Example Greens
Fresh/green garden weeds, kitchen waste, green leaves, coffee grounds, tea bags
Farmyard Manures
Having read my article about the excellent compost you can make if you have access to plenty of horse manure, you will not be surprised to find that worms also enjoy horse or cow manure as a special treat. Naturally, you need to be sure that the animals whose manure it is have not been dewormed in the previous month; otherwise, your worms are likely to die when they come into contact with it.
You should also allow the manure to dry in the sun for a month before you use it. But even if you take these precautions, it is a good idea to put a single worm in a bowl with a little food – including the manure you want to test – cover it with damp newspaper, and see whether that worm stays alive for several days. If so, you know it is safe to feed that manure to all your worms.
Never Feed Worms:
Dairy products, meat/poultry, citrus, tomatoes, onions/leeks, garlic, chilies, spicy/salty foods, pineapple (which contains an enzyme that dissolves worms completely!), green lawn clippings (which generate ammonia, which kills worms)
Old, dried lawn clippings are ok, but use them sparingly, because large quantities generate a lot of heat as they decay.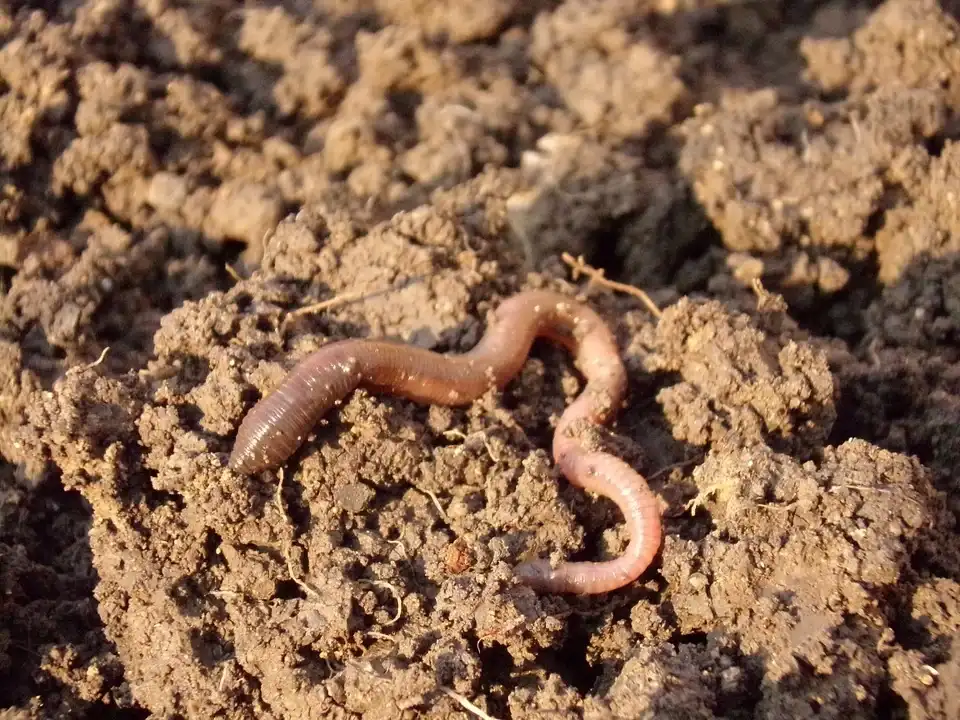
It is normal for a certain amount of liquid to leak out of the materials you feed your worms, after they’ve been in the bin for more than a very short time. That’s why we keep our food in the fridge: if it’s at room temperature, it starts to decompose. Even if you do not have the wrong balance of wet and dry materials in your basins, the decomposing materials can be expected to produce liquid.
Moreover, the worms’ castings also have quite a high water content. All this moisture is the reason for having a tap in the bottom bowl of your worm farm: when all the moisture leaking out of the worms’ food and castings starts to accumulate, you can let it out.
But whatever you do, do not simply open the tap and spill the liquid on the floor. This magical substance is known as leachate (because it ‘leaches’ through the organic materials in the worm farm) or worm tea. It looks like tea in its color, and is very rich in minerals, proteins, and bacteria – a perfect natural plant food.
Although it is a magical substance, you never put worm tea directly onto your garden. It needs to be diluted with water, at a ratio of between 1 part worm tea:100 parts water and 1 part worm tea:50 parts water. Moreover, ultraviolet light (from the sun) kills the magical bacteria in the worm tea, so you can only apply worm tea to your plants after the sun has set.
Once you have diluted your worm tea in the correct proportions, you need to stir it thoroughly to distribute the bacteria evenly throughout the worm tea solution. The Hex worm farms booklet advises you to whisk the diluted worm tea clockwise for one minute, and then anticlockwise for an additional minute. What I did was measure the water into a large watering can, measure out the worm tea with a disposable plastic cup I’d made a mark on, and then stir it with a stick.
That really conjures up quite a picture. There you are, crouching over your watering can, at dusk, carefully stirring the correct number of times in first one direction, then the other. All you need now is to mutter a few magic words while you’re at it, and you will complete the image of the mad old crone with a crooked nose, a pointy hat, and a cauldron full of magic potion.
Once you have correctly diluted and stirred your magic potion/worm tea, it can be used on your plants. Since it is both a nutrient-rich plant food, and a natural insect repellent, you probably want to pour worm tea over the soil as well as over the foliage of your plant. I watered my herb garden, flowers, and salad planters regularly with diluted worm tea, sprinkling it right over the whole plant (using a watering can with a fine rose), as well as the soil.
If you have been watering your lettuces with worm tea, you might like to rinse the leaves before you eat them – but if you happened to ingest some diluted worm tea that was left on something you were growing in your garden, I’m sure that would do you nothing but good.
You can apply a worm tea solution to your garden and house plants as often as you like, as long as it is diluted correctly. You can also use a strong solution of worm tea with water to dip cuttings and slips in. It is excellent for promoting rapid and healthy rooting.
(Note: the diluted worm tea must only be poured or sprinkled, never sprayed from any kind of pressure sprayer, even if you have a large area you want to treat. Pressure will kill the good bacteria in the worm tea.)
Worm Compost (Vermiculture)
The word vermiculture can also be used to denote the castings excreted by the worms after they have digested the food you give them. This vermiculture makes an excellent plant food. Because it comes directly out of the worms’ bodies – not just from the decaying food – the compost is ‘stronger’ than the tea. However, like the tea, the compost will also not burn your plants. It has a high nitrogen content; moreover, it contains a good balance of bacteria and fungi, which other types of compost usually do not. When mixed with an equal portion of topsoil, vermiculture makes an excellent potting soil.