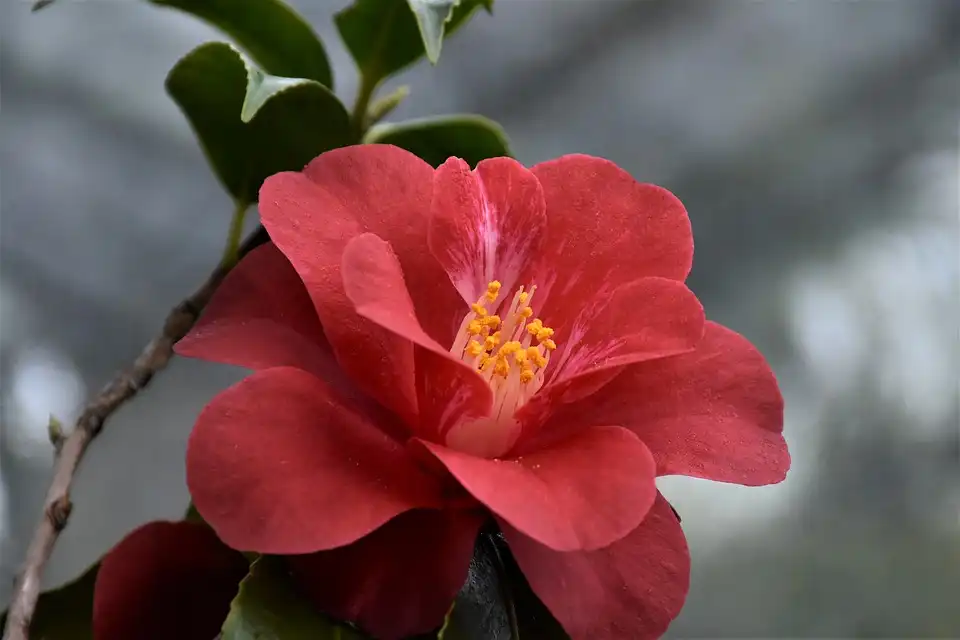
Hibiscus is a must-have flowering shrub for any garden, patio, or window box. The stunning variety of flowers within the hibiscus species means there’s one to suit everyone’s tastes. Whether you like the larger-than-life flowers of the Hawaiian hibiscus, the regality of the Confederate Rose, or the pretty-in-pink Swamp rose mallows; this vibrant tropical plant is poised to make your garden pop.
I’m one Bonsai Alchemist who really has a deep appreciation for these plants. I find them so enchanting to look at, and I remember walking through the clearing near our house with my mom when I was younger. She pointed them out to me and told me they were edible flowers. I was in absolute disbelief, and like any youngster, I had to try them out for myself. I’ll never forget the aromatic flavor of the silky petals.
So, it is my absolute honor to guide you through how to grow these lovelies from seeds. We’ll cover a few different hibiscus seed germination methods and discuss the benefits of each. For starters, however, I want to point out a few reasons why it’s actually best to start these beautiful flowers out from seeds.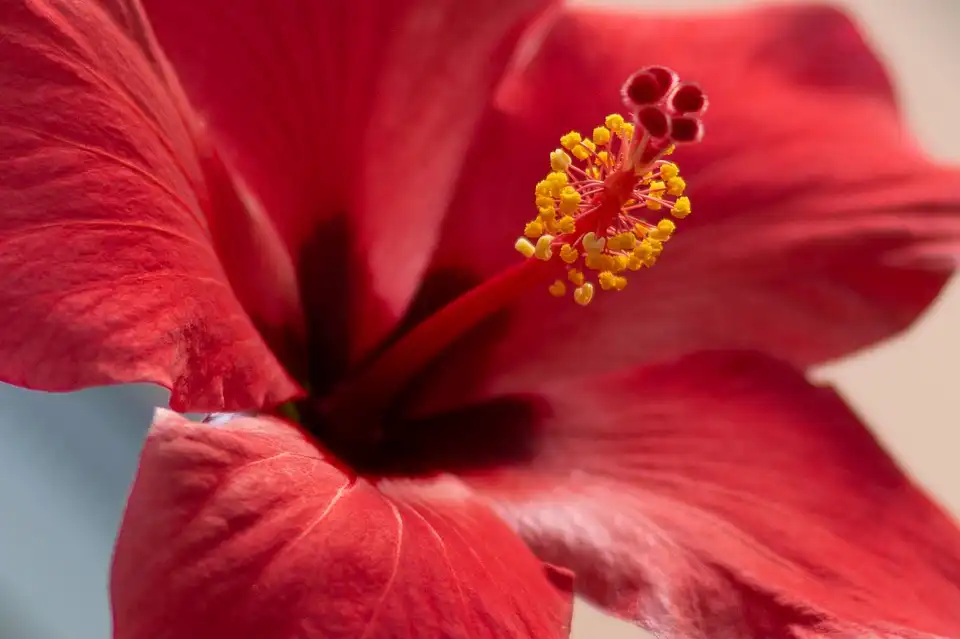
Nothing is stopping you from buying a full-grown hibiscus plant, popping it in the ground, and calling it a day. But there’s so much more accomplishment involved with raising one from a seed. Heading back to the realm of bonsai for a second, hibiscus bonsais are easier to cultivate from seeds. You’ll have far more control over the plant’s growth pattern and be able to start the plant in your desired bonsai style with a lot more ease.
If you’re harvesting seeds from your own plant, you’ll want to keep an eye out for the seed pod. These grow on stems like flowers, and once opened, they look a little like star anise. Inside, you’ll find a selection of tiny dark fuzzy seeds.
Its Remarkably Easy
Hibiscus seeds are definitely some of the most accessible seeds to germinate. You don’t have to follow a long set of specific instructions to get it right. Most of the time, if you follow any of the methods we cover in the next section, you’ll have more than 50% yield from the seeds you plant. There’s really nothing terribly complicated about germinating these babies.
The only significant rule you need to follow is not to overwater your seeds. Hibiscus is a hardy plant, and even during germination, they’re not fans of being drowned. You just need to moisten the soil and give the seeds enough water to prevent them from drying out and becoming unviable.
Variety is the Spice of Life
Often, when you buy young plants from a nursery, unless it’s a particularly high-demand plant, you won’t find more than one or two varieties. Seeds are a whole different kettle of fish. Scratch around the seed section of your favorite nursery, or sometimes even greengrocers, and you’ll discover a whole other world of variety.
Sometimes you’ll find multiple colors or types of hibiscus in dedicated seed packets. Other times you’ll find seed packets containing various similar plants. These will be something like seasonal seed packets, color-coded seed packets with just pink blooms in, or seed packets organized by the types of plants, like floral shrubs.
Here you have the added bonus of getting a few other plants in addition to the hibiscus we all so desire. Seed packets are like lucky packets for bonsai alchemists, people with green thumbs, or those who generally get excited about plants.
It’s Healthier for the Plant
The other risk you run when you buy a seedling or a young plant from a nursery instead of growing your own seeds is that the plants are sometimes root-bound. This happens when plants are left in a small container for too long. Their roots have nowhere to go, so if they are left on a nursery shelf for too long, their roots fill the pot and take up the space of the soil. Roots that grow this way can prevent your plant from receiving vital nutrients and even end up choking or strangling your plant, resulting in its death.
The best way to ensure your plant’s health is by knowing exactly what you put into your plant and how it has grown. When you germinate seeds yourself, you can control what type of soil, fertilizer, and other nutrient-rich substances you use. Plants that are already part-way grown will have to try and adjust to your soil at home.
While a straightforward workaround is to put the new plant into the ground or a bigger, more suitable pot with all its original soil still surrounding the roots, it’s easier to just grow your hibiscus yourself from seeds.
You’ll Save Money
Seedlings and young plants are expensive. Even if you’re in a small town where everyone knows everyone, and you get neighborly discounts on plants, seedlings are more costly than seeds. Sometimes you can get as many as five packets of seeds for the price of one young plant.
Another way you’ll potentially save money buying seeds instead of young hibiscus plants is that when the next planting season comes around, or when more space frees up in your garden or pots, you’ll likely have seeds left from your previous purchase. Seed packets contain so many little seeds, especially if the seeds are relatively small.
This is a workaround you can use for bonsais as well. Bonsais are some of the most expensive plants around. This is because people have invested all the time and energy in their healthy growth and pruning them into the prettiest shapes and styles. You can circumvent this often astronomical cost by growing your own bonsais.
Additionally, you have complete control over the shape, size, and general proportions of the eventual hibiscus bonsai if you grow the plant from seeds yourself. This is so much easier than trying to shape an already established plant into what you want. And ultimately, bonsais are an incredibly personal process, one you’d rather have complete control of, from seed to perfect miniature tree.
You’re Doing the Environment a Favor
We all have an environmental impact. Even if you do your part at home and work, you still likely have a carbon footprint. This is because we don’t always know how our favorite nurseries operate. Do they use gas-guzzling monsters for transportation? Do they use chemicals while growing seedlings into the young plants they display? Are they actively involved in reducing their professional carbon footprint?
When you support a business, you support its practices. So by not buying plants that have been grown with harmful chemicals and instead buying seed packets, you’re doing the environment a solid. Seed packets are also smaller and easier to transport than plants, so there’s a decrease in the overall carbon footprint right there.
Now that we’ve thoroughly covered all the reasons you should be growing your hibiscus from seeds, let’s jump straight into the deeply fulfilling process of doing it. Seed growth is incredibly satisfying to be a part of. You’ll definitely remember the first time you see a lively little green shoot peek above the soil.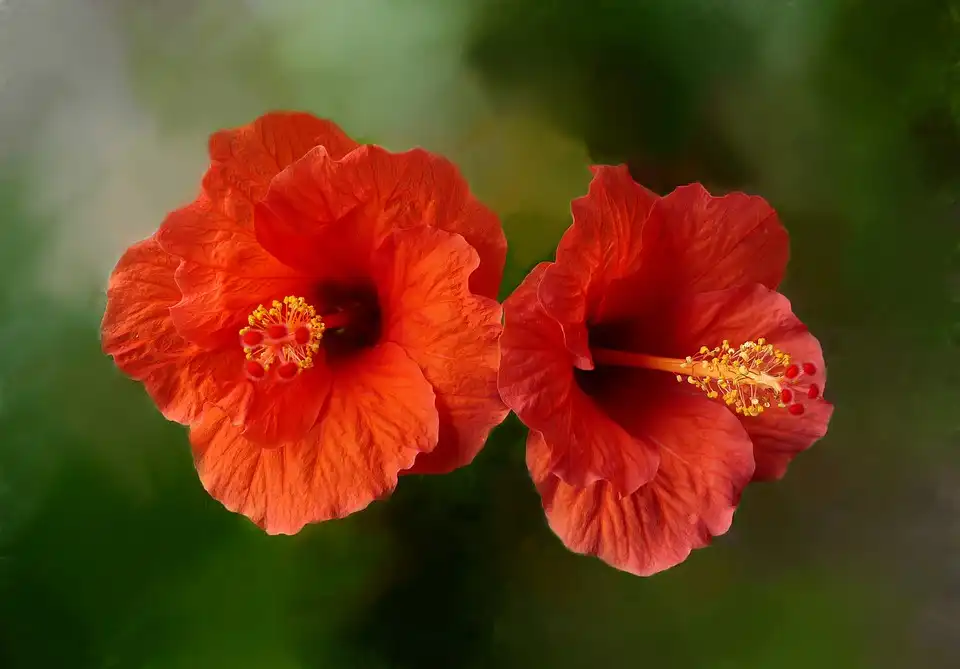
You won’t need this next step if you’re not too bothered about speeding the process up. But let’s face it, sometimes we want our plants to grow a little faster than nature allows. You can follow this simple extra step whether you bought your seeds in a handy seed packet or whether you collected seeds from one of your parent plants. To give your seeds a boost in the germination phase, all you need to do is cut the tiniest fraction off one end of the seed.
Hibiscus seeds are quite diverse in their shapes. They’re all varying degrees of round but not perfect spheres. The rounded ends are where you want to place a cut or take a small slice. You’ll notice a small hard node on one end of each seed. This is where it was connected to the parent plant and how it transmitted information on growth patterns and any other genetic information it has adapted during its lifetime that is essential to the seed’s survival. This node is the only place on the seed that is not safe to cut if you intend for your seed to germinate.
Place one cut through one of the seed’s rounded sides, or cut one small side off completely. The idea is only to expose the soft white innermost matter of the seed, not to chop it in half. There is so much evidence in horticulture and cultivation that suggests minor wounds in the plant you are trying to germinate will promote more robust, faster growth.
Even in human muscles, to make a muscle more substantial, it needs exposure to tension and torsion to create micro-tears in the tissue so that it has reason to get stronger. Adversity breeds resilience, and you want your plants to be resilient from their very first moment in the soil.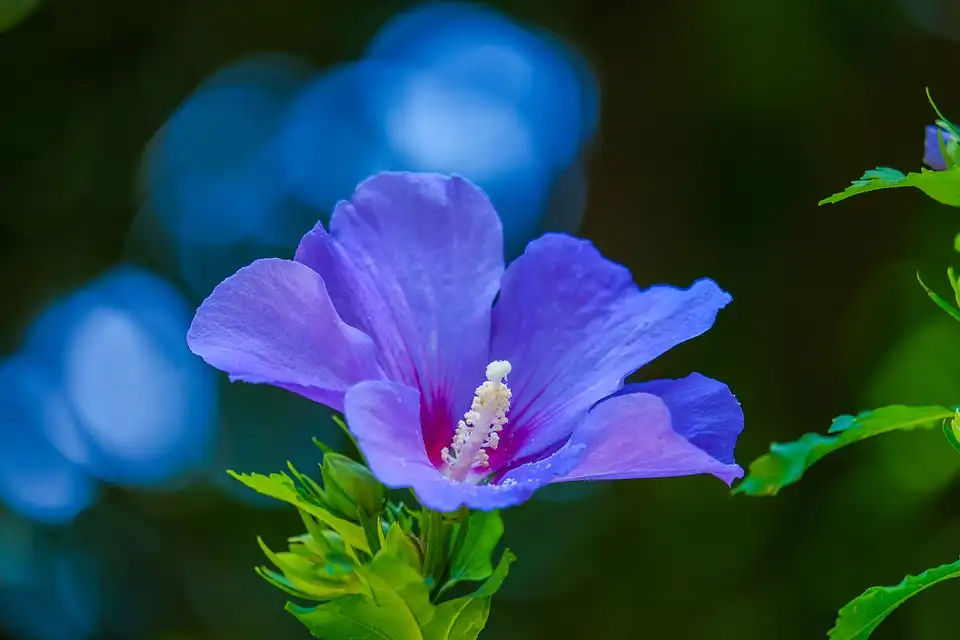
Humans have come up with numerous methods to germinate seeds, from shoving the seeds straight into the ground to allow them to germinate to saplings in their own enclosed ecosystems. All of these methods work, but they will have varying degrees of germination duration and total yield depending on when you plant them.
One helpful hint is that hibiscus likes warmth. Any time of the year that is reasonably warm is the perfect time to bring new hibiscus plants into being. Alternatively, you could leverage warm spots in your house to germinate hibiscus seeds during the colder months and then transplant them to their forever homes when it gets a little warmer.
There are four widely accepted methods to germinate seeds. These are the paper towel method, the plastic bag method, otherwise known as the baggy method, direct soil germination, and independent ecosystem germination. We’ll review all four of these methods below so that you can decide which is the best for you to use.
Direct Soil Germination
This is likely the easiest method of germinating hibiscus, but unless your soil is absolutely perfect for hibiscus to germinate in, you might not have a very high seed yield. This is, therefore, not the best method unless germinating seeds is old hat to you, and you know what you’re doing. That said, any nutrients your soil is missing are easily obtained from your local hardware store, nursery, or supermarket, and you can easily mix them into the soil you intend to plant your seeds into.
Plant your hibiscus seeds fairly close to the surface of the ground. A general rule of thumb for healthy seed germination is to plant them three times as deep as they are wide. Hibiscus seeds are fairly small, so shallower is always better. Luckily hibiscus is not like lettuce or snapdragon, and its seeds don’t need light to germinate fully, so it’s perfectly safe to cover these babies up once they’re planted.
Once you’ve planted your hibiscus seeds, water them generously. Make sure you’ve planted them in soil that drains well; hibiscus don’t like having wet feet. If your soil retains too much moisture, your hibiscus seeds might rot before they germinate. Water your new little pile of soil once a week and keep it draining well and drinking in the healthy glow of the sun, and you’ll soon have vibrant green shoots to brag about.
The Paper Towel Method
This is also a relatively way to germinate hibiscus seeds, with the added benefit of you being able to watch them sprout. All you need is your hibiscus seeds, water, a container, and a soft, porous medium like a paper towel. You can use toilet paper in a pinch or even opt for cotton wool if you are so inclined. Any kind of porous absorbent medium will do the trick.
All you need to do is place your seeds on top of a few layers of your chosen porous medium. Make sure to space them nicely so that they have room to germinate and sprout properly. Dampen your medium so that it is wet, but not so much that the water floods whatever surface or container you use as a holder for your germination efforts. You can cover your seeds with another layer of your chosen medium, but this is not a prerequisite for healthy sprouts.
Keep an eye on your seeds and watch for green tendrils protruding from the medium; this is a sign of very healthy little hibiscus plants. If you notice the medium getting dry, dampen it a little more, but less is always more beneficial in flowering plants like hibiscus. Within a few weeks, you’ll be able to move any thriving hibiscus shoots to their permanent home in the ground or into a pretty pot to start grooming a hibiscus bonsai.
The Plastic bag Method
The use of a plastic bag is nothing more than a slight variation on the paper towel method. You’ll follow the same process as the paper towel method, except your medium of choice, once populated with seeds and sprinkled with water, is placed into a resealable plastic bag. This enables the plant to exist in its own little ecosystem while it germinates. This method means you likely won’t have to water the plant again until it’s ready to be potted or planted because the water will circulate inside the system in the form of water vapor.
In the same way as the previous method, you’ll remove the seeds from their temporary home once you have a few green leaves. The presence of these leaves means that the plant is ready to start photosynthesizing and support its own vital processes. You’ll still need to water your plant once it’s in the ground but do so sparingly.
Independent Ecosystem Germination
An independent ecosystem is a slightly more long-term home for your new plant. You’ll typically use this method if you intend to keep your hibiscus plant or future bonsai out of the natural elements for a while. A perfect time to do this is in the winter when you can’t realistically plant anything in the harshness of the freezing cold outdoors.
For this method, you’ll need a suitable porous medium or soil, water, your seeds, and a jar. Prepare your seeds and place them into your chosen medium as before. Water the system rather liberally because the idea is to keep it closed and functioning independently for more extended periods. You still don’t want your hibiscus seeds to be swimming around gasping for air, but you want the medium fairly damp. Once you have prepared your system, close the jar and put it in a reasonably warm place. This can be in a cupboard for the first few weeks and then a sunny window sill until you’re ready to plant.
Your plant will grow tendrils, then shoots, and then finally a few leaves. These leaves are vital to the plant’s survival. Typically once you have a few leaves, it’s time to move your hibiscus plant to somewhere a little sunnier. This kind of system is designed to support your plant for longer so that you don’t have to plant it in the ground or pot it too soon. Delaying the replanting time a little gives the plant time to get stronger and ensures better survival.
Before you plant your brand new hibiscus plant in the wild, leave it in the system for a few more days with the jar’s lid off, allowing it to become accustomed to the fresh air. Remember, your plant has been sitting in its own little space for a while; it’ll be a massive shock to its system to move it immediately into the ground.