How to Graft the Japanese Maple Bonsai Tree?
Are you planning to graft your bonsai trees? Grafting is a horticultural technique to connect the tissues of two plants and allow them to grow simultaneously. Sneak out below to delve into the detailed process of grafting a Japanese maple bonsai tree.
What is Grafting of Japanese Maple Bonsai?
Do you have an interest in the growth of bonsai flowers? If yes, grafting is a great technique through which the hole gets drilled in the trunk to allow a scion (graft) to pass through it. With this technique, the ridge is created in the plant, and the placement of the scion ensures the growth of another plant.
Once the slip heals, the process of grafting completes. Perhaps, you need to be extra cautious while handling the graft as inaccurate placement might result in faulty outcomes of the entire process.
Why Should you Consider Grafting of Bonsai Trees?
There are several reasons for which grafting can prove beneficial, and they are slated as below:
- If you desire your maple bonsai tree to appear fuller and barren branches over it, you can use grafting to grow buds.
- Many gardeners also adopt this technique to thicken a specific part of the trunk, graft the particular branch over that area, and let it grow. Once the growth appears, you can remove back the branch again.
- If you are making bigger cuts, scion helps seal the scar with a graft across it.
Grafting is a very popular technique to blossom Japanese maple bonsai trees to develop new growth on the existing truck. As the trunk inclines towards the graft, it derives a tapering downside along with direction change. This is visually very appealing for the users.
Those keen on changing the foliage type of the tree can utilize trees of other graft branches on the parent tree and experiment with the simultaneous growth of the new foliage. As a result, Japanese maple bonsai trees look vibrant and interesting. Performing this procedure can help your bonsai in the backyard spread widely and get a very broad appearance.
As grafting deals with the cutting of two plants, one with roots and the other without roots, you can perform it for propagative vegetation as well. If you wish to manage the rooted cuttings that are 2-3 years old of your Japanese bonsai, carry out grafting during repotting for the best outcomes.
A significant benefit of grafting is generating buds over the stems that lie ideal for quite a while. Approaching this technique is advisable only for the healthy tree and that too during early spring at the time of the active growing season. When there is a peak growing time, your plant is bound to flourish and grow in distinct dimensions.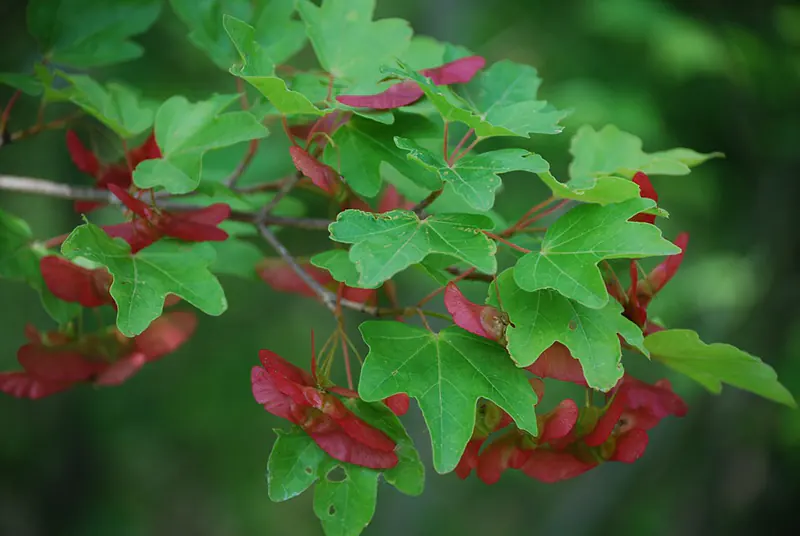
Important List of Tools Required for Grafting
Create a checklist of essential equipment and tools that could effectively help you complete the grafting task. Firstly, you need to select the Japanese maple tree with multiple whip-like branches. It’s pretty easy to identify that this technique is suitable for plant growth provided you learn about the healing time of the scar made.
Observe the scar on the tree and wait for it to heal quickly so that you can witness the growth of buds over it. Easy grafting is possible when you learn the technique of arranging scion into the graft and enabling the growth of new buds over it.
Tools you need to keep handy before grafting Japanese maple bonsai are:
- Trimming scissors to discard foliage.
- Fine sat to create the grooves
- Grating knife to slit over the groove and ensure a clean surface for grafting.
- Marker pen to highlight the spot of grafting.
- Different types of nails or pins with padding cut from squares if the rubber tire.
- Panel hammer
- Wound sealant to close the graft after the process.
- Aluminum bonsai wire to shape and secure the graft appropriately.
It is quite possible to perform grafting over a dry tree or preferably do not water your Japanese maple bonsai on that day. This simplifies the defoliating process, and you won’t have to chop off excessive leaves deliberately.
Preparations to Begin with Grafting
Now that you have pep up with tools for grafting, the next step is to defoliate the tree if it has a very dense growth over it. Again, only cut the required portion so that you can take a cut through the brand and extend scion into it for new growth.
Before making a graft, analyze the tree to identify the gaps and target expanding that specific portion of the tree. As the new buds would pop up, the gaps would automatically start healing, and you would again adore your flawless Japanese maple bonsai tree with a fuller appearance.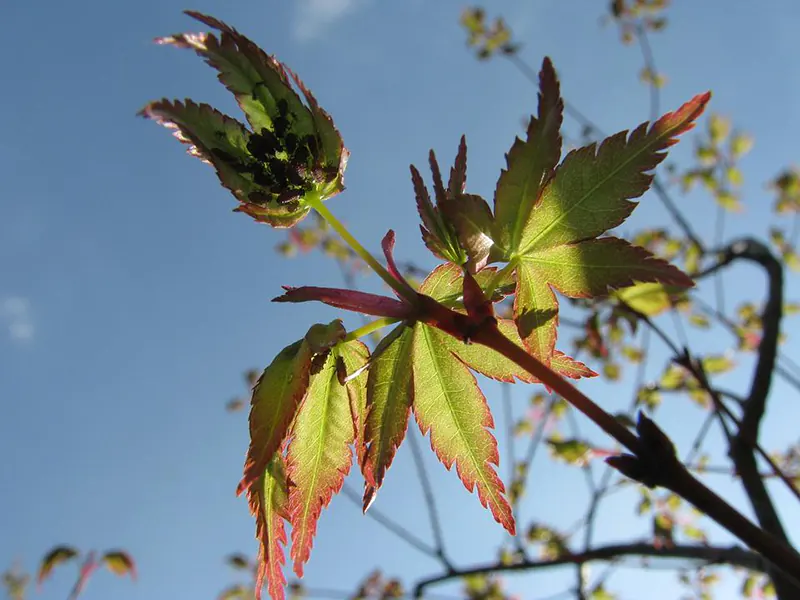
Steps to Graft the Japanese Maple Bonsai Tree
- The preliminary step is to mark positions over the grafts that would help you observe branches towards the exterior of the curves. Avoid selection of points that are vertically situated below one another. A sensible selection of sections is advisable to prevent the tree from dying off.
- Now take a dark marker and point to the spots where you need to do the branch placement. This would now help you to select spots to begin the grafting process. A maple bonsai tree is all cluttered with branches, and marking helps in ensuring that you do not make any goof-ups.
- Mark a section that you could bend to a specific position with an apt internodal distance. Keeping an intermodal distance is crucial to ensure the exact branch ramification, and it also helps in changing the angle with a cut on the suitable bud.
- After the branch test is completed, you can bend it in a specific position. Begin working from the bottom of the tree and work till the top using an aluminum wire.
- Choose the right angle for the branch grafting. Go either for the upwards or the downwards angle depending on the preferred style for the tree. Allow the branch to stay for a couple of moments but make a selection wisely.
- Use a finely toothed saw to slit across the angle you have chased on the bonsai maple tree. Retain a perfect depth so that scion can easily set across the surrounding tissues. It helps to ensure that when the cambium of the stock tree starts healing, the scion does not pop off from its location.
- Next, take a wider saw blade to elaborate the cut, or a grafting knife would also be a good choice. Ensure that the width cut must be wider than the scion thickness. Avoid making a too-wide cut, or your grafting process will remain unsuccessful.
- Proceed with appropriate placement of scion on the graft of Japanese maple bonsai tree. Keep the pins, panel, and padding all set as you need to head up towards the next step. Bring along the scion and ensure its placement into the groove just created by you.
- Place the scion towards an outside facing bud as its helpful in curating the perfect design of the tree.
- Do not scape off any bark over the scion as the surface as it might weaken the scion (shoot) that you desire to grow.
- Gently remove the bud that forces the shoot away from the groove in any way. Using a grafting knife is a perfect way to do so. Locate one pin towards the scion and at the upper side of the edge of the groove.
- Now push a pin inside the wood so that it retains a specific position and the hammer the remaining so that the scion gets slightly compressed through the padding utilized for it. Swiftly hammer yet another pin towards the lower end and opposite to the groove.
- The use of wires is also a good idea to connect it with a scion and give a desired shape to the branches. Wiring now is much easier as later on, the branches would get thicker, and then you won’t be able to bend it.
- Once the wiring of the branch completes, you also need to seal the grafts appropriately. This would prevent any air from penetrating across the seal.
- Now follow a usual tree care routine for the grafted portion and fertilize it regularly. Invest in an organic fertilizer as that helps in the healthy growth of shoots from the new branches.
- If the graft is successful, you can observe a visible swell as the union point of stock tree and scion would get bulkier. It’s evident that the scion appearing from the groove is thicker than what you have earlier entered into it.
- The whole process of grafting for a Japanese bonsai tree might take 6-12 months. Cut down the scion at the entry point after the union is complete, and you can redo the entire process of grafting again if required.
Wrapping Up
That’s all, and you are right there with a blissful appearing Japanese maple bonsai blooming in your backyard or garden. It might sound intimidating at first to carry out grafting well, but believe me, I have done it for the first time, and that too successfully. So, I believe anyone can accomplish this task. There are ample benefits of grafting the trees, and additional foliage volume tops it all.
Though you might need to stay patient for a year until the successful swelling over the graft is prominent. Keep reading to find many other amazing ways to style, re-grow and give an all-new appearance to your bonsai tree!


