If you’re an art-lover with a knack for creativity, you might have thought of making a bonsai sketch of your beautiful bonsai tree or a lovely bonsai painting for your living room. While making your bonsai picture has its own charm, you might find yourself stuck or lacking the skills to do so.
You shouldn’t have that issue after you’ve finished reading this post. Even if you’re not a pro, we’ll show you how to draw a bonsai tree and customize it to your favorite type.

Art of Bonsai
If you’re a devoted bonsai lover and can’t get enough of it through your plants’ collection, you have other ways to nurture your passion. You can collect paintings, read books, make sketches of an artificial bonsai tree, or attend bonsai events. Drawing a bonsai tree will take your passion to a new level.
It could also be cathartic to be able to bring your imagination to life. You can also visualize different shapes for your bonsai before you prune your tree in reality. After all, the art of bonsai is about expressing yourself through the tree’s aesthetics.
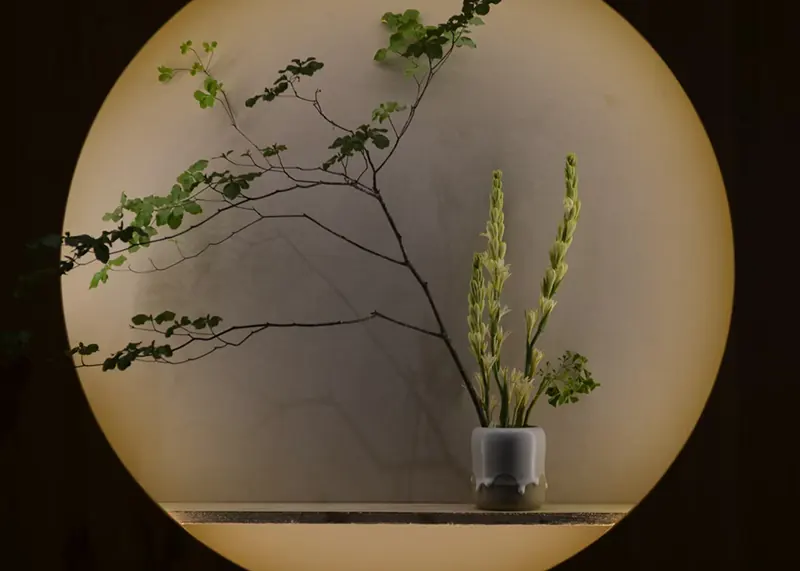
Bonsai translates to “planted in a container.” You can mold it into your desired shape and size, giving you room to experiment with the type of bonsai you want to draw. Let’s go through some simple steps to draw a bonsai tree. All you need is a drawing pen, a ruler, a blank sheet or a canvas, and colors.
How to Draw a Bonsai Tree in a Few Easy Steps
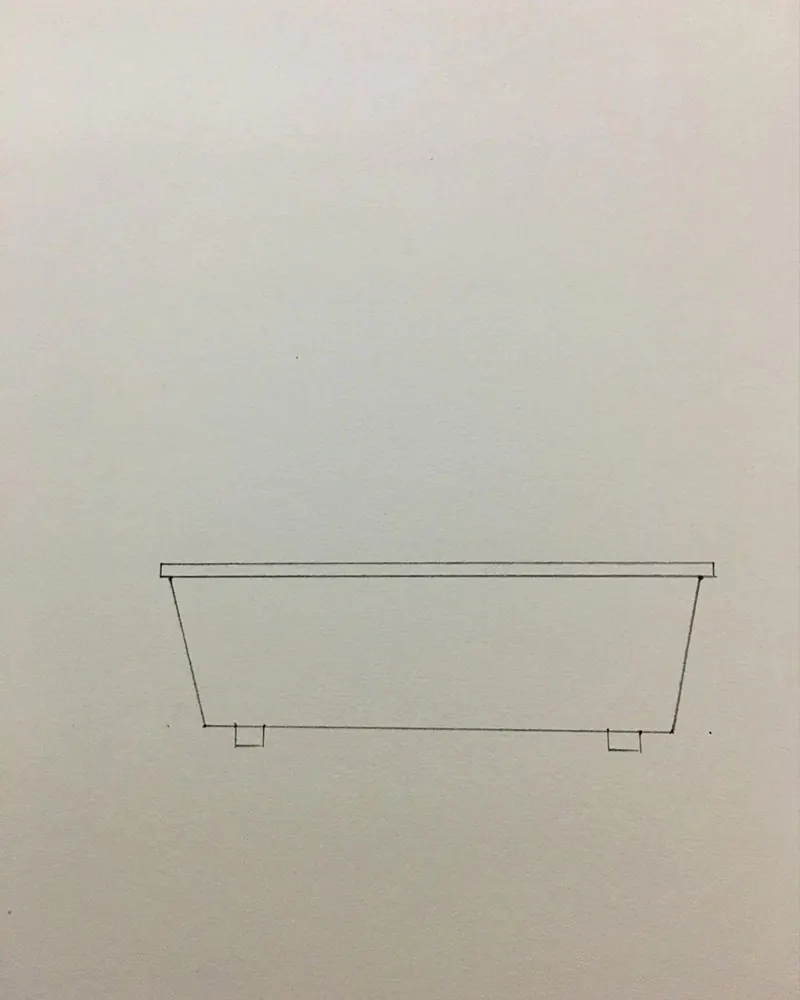
Step1: Draw the Bonsai Pot
Drawing the bonsai container is simple. You can choose a square, rectangular, or round pot. For a rectangular pot, use a ruler to draw two horizontal parallel lines, the bottom one a bit shorter, and join them with two vertical lines angled inwards.


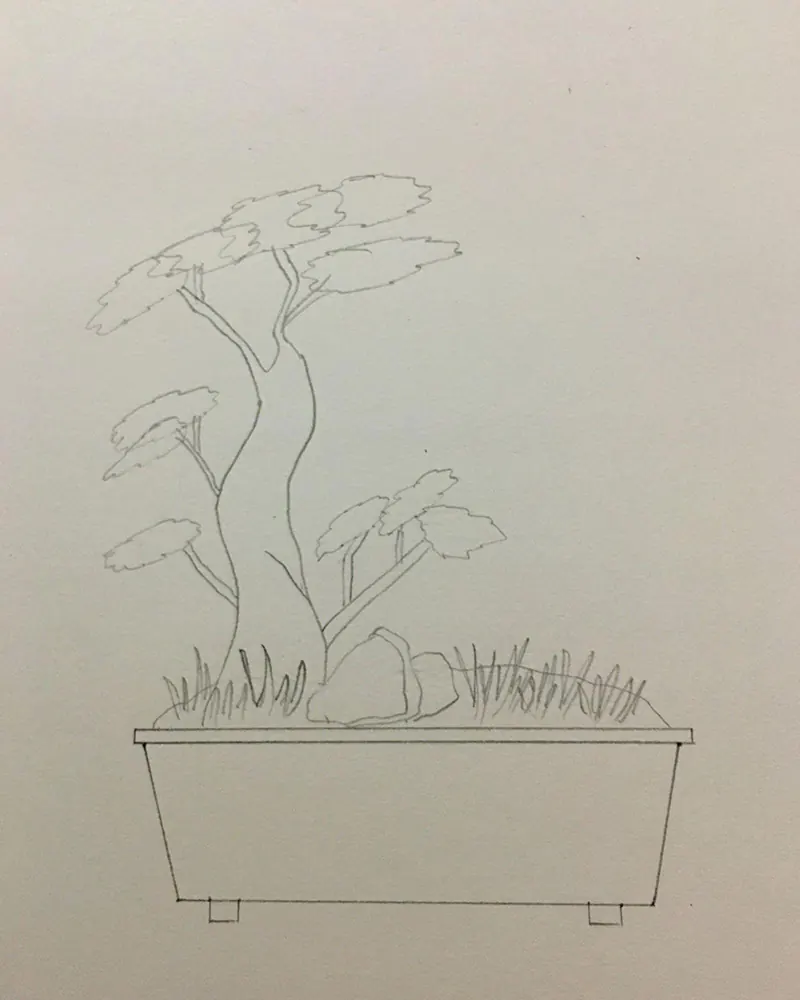
Step 2: Fill the Pot
Now draw a small bumpy cloud-like structure on top of the container to represent the soil and moss. You can also add some pebbles.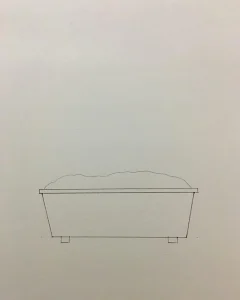
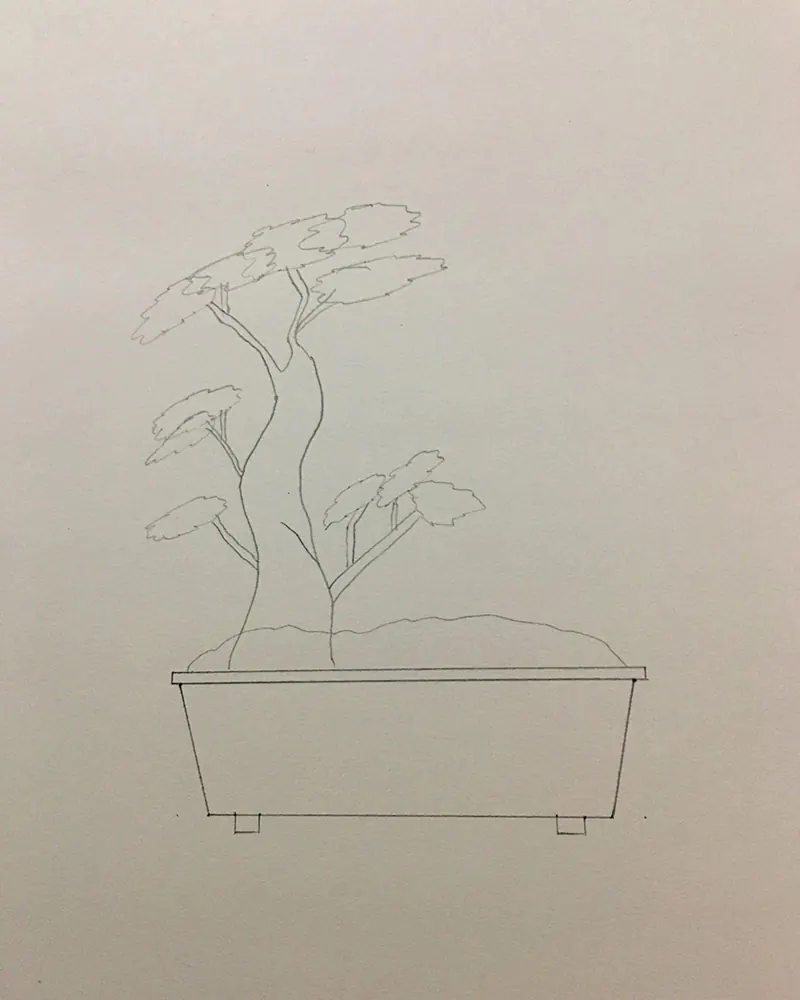
Step 3: Make the Tree Trunk
This step depends on the type of tree you’re choosing. If you’re not a professional artist, go for something simple. It’s a good idea to draw the trunk toward the corner and not in the center. Start with a wider trunk at the bottom, gradually narrowing it down on the top. Once you’ve reached the desired height (make sure it’s not too tall in proportion to your container), start drawing the branches on both sides of the trunk.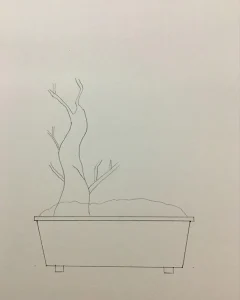
Step 4: Sketch the Leaves
Draw oval shapes with a pencil on top of the branches to represent a bunch of leaves. Scribble some leaves covering most of the ovals. The leaf details depend on the type of tree you’ve chosen. You can also add flowers, like cherry blossoms. Once you’ve finished drawing the leaves and flowers, you can erase the oval outline.


You can also make a cherry blossom bonsai with beautiful flowers. The flower has five petals, and it’s easy to draw. Here’s an image of a cherry blossom flower for reference: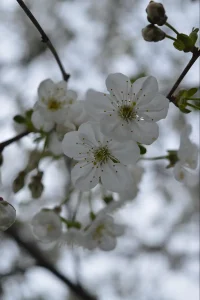
Final Thoughts
Learning a new skill isn’t always easy, and mastering it should make you proud. You don’t have to be a professional to be able to draw and paint and marvel at your finished work. All you need is a bit of knowledge, dedication, and creativity to make it happen. Once you know how to draw a bonsai tree, you can use this skill in various ways, like making Christmas cards, paintings, illustrations, tattoo designs, etc. Moreover, if you can’t get a bonsai plant for some reason, then drawing a tree will help keep your passion alive.
Do you find it easier to draw a bonsai now, and have you made one yet? Let us know in the comments below.