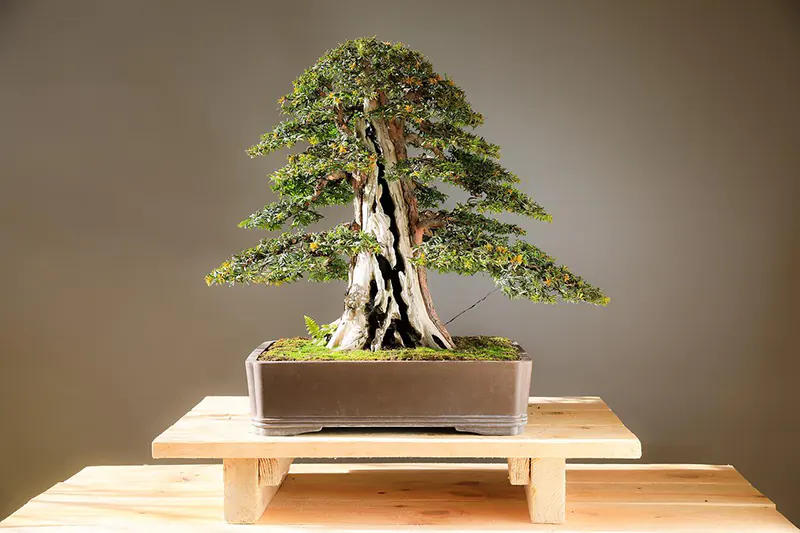
Creating deadwood in your bonsai is a great way to add visual appeal and interest to your tree. It also immediately makes the tree appear older and worn, which greatly affects bonsai. Shari is one technique that bonsai enthusiasts can use to create deadwood in their bonsai.
In this article, we’ll be taking a closer look at what exactly Shari is and how to create it in your bonsai. Keep reading to discover more about this technique for creating deadwood.
What Is Shari In Bonsai?
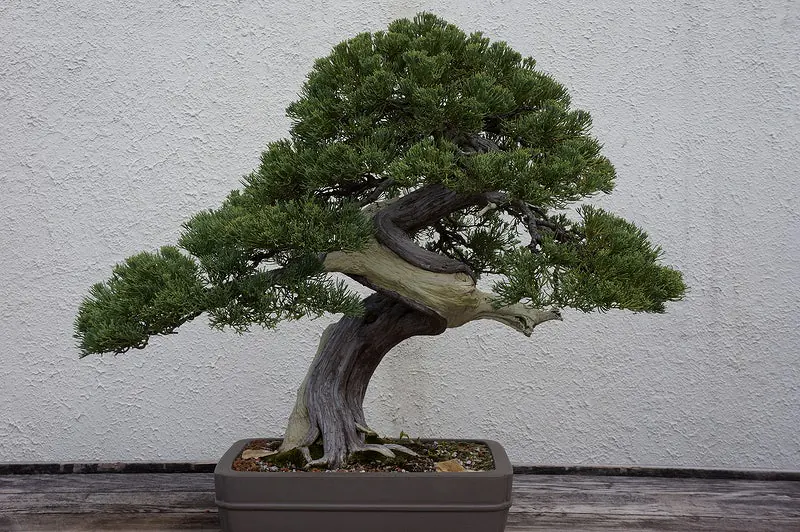
Shari is a technique for creating deadwood in the trunk of your bonsai. In nature, shari is created in a few different ways. It can be created when a branch is ripped from the tree by strong winds. This rip usually takes some of the bark along with it and isn’t a clean break. Another way that shari can be created in nature is when the tree’s trunk is hit by lightning, causing significant scarring.
There are other ways that shari is created in nature, such as rock slides, insect infestation, etc. In the art of bonsai, we try to recreate these effects by manually carving and removing the bark. This will create the same effect without having to expose our precious miniature trees to the elements.
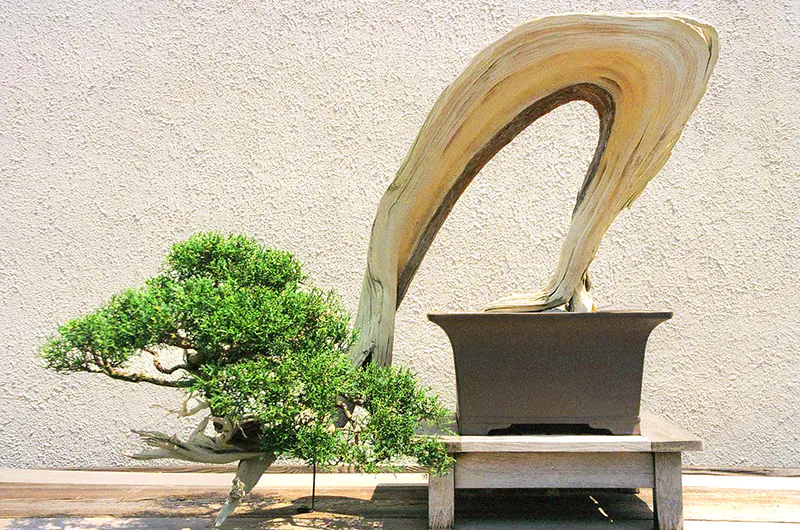
Shari is used to make a tree appear older than it actually is and can also be used to create visual interest in your bonsai. As such, bonsai enthusiasts carefully plan where they want to use shari so that it makes sense for the style of the tree and the viewer. For example, creating shari on the back of your tree where it won’t be seen might be a waste of time. However, creating shari on the bare side of a windswept bonsai can give the bonsai a strong visual impact.
Shari vs. Jin vs. Uro
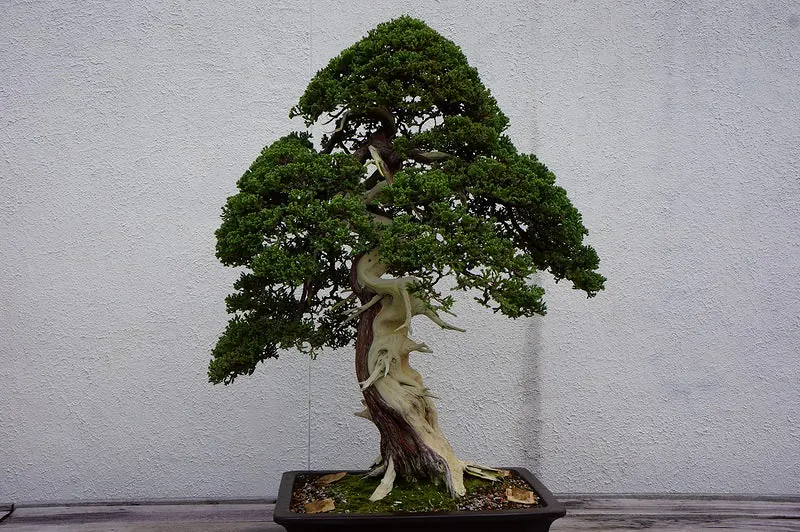
When it comes to creating deadwood, there are three main techniques. The names vary based on the area where the technique is used. Shari is deadwood created on the main trunk of the bonsai, whereas jin is created on the main leader or branches. Alternatively, Uro is a deadwood hollow created where a branch has been removed. It is also not uncommon to see a combination of these techniques on a single tree.
These aren’t the only techniques to create deadwood, but they are the easiest to achieve and most commonly used.
Tools Needed To Create Shari
In order to create beautiful shari in your bonsai, you’ll need to use the right tools. These tools are specifically selected to create the deadwood with as little dangerous damage to your bonsai. It’s important to note that there are electronic carving tools with different attachments, such as dremels, roto saws, and more. While these tools can make advanced carving processes easier, using the original carving tools and jin pliers leads to a more natural look in your shari. The tools we recommend for creating natural-looking shari are:
- Pencil
- Grafting knife
- Jin pliers
- Carving tools
- Lime Sulfur
- Small brush
How To Achieve Shari In Bonsai?
Now that we have a better understanding of what shari is and how it occurs in nature, we can start looking at how to apply the technique to our bonsai.
Step 1: Get Together All Your Tools
Before getting started, make sure to get all your tools together and sterilize them. Since you’ll be creating physical wounds directly into the trunk of your tree, it’s essential to use clean tools to ensure that you aren’t infecting your bonsai with a disease.
Step 2: Evaluate Your Bonsai
When it comes to shari, you must think carefully about where you’ll be creating the deadwood. It has to make sense with the style of your tree, and it has to add visual interest. Don’t just start carving for the sake of carving.
Step 3: Draw Your Shari Design Onto The Trunk
Once you have an idea of where you want to create your shari, use a pencil to draw the design directly onto the trunk of your bonsai. This will give you a visual guide for when you start carving. Make sure to create your design while bearing the tree’s trunk structure in mind. The fibers flow vertically, so ensure that your design follows the same principle to ensure the effect looks natural.
Step 4: Use The Grafting Knife To Cut Into The Trunk
Use your grafting knife to create a cut at the top of your design. Make sure to cut through the first few layers of bark, but don’t make the cut too deep to interfere with the flow of nutrients.
Step 5: Using The Jin Pliers To Remove The Bark
Next, you’ll want to use the jin pliers at the section where you created the cut. Grab the bark of the trunk at the cut and pull in a downward rotating motion to remove the bark. Using jin pliers here is essential as the jin pliers will rip the bark leaving the fibers visible. As the wound heals, these fibers will create grooves in the wound, making it look aged and natural.
Step 6: Use Carving Tools To Refine Your Design
Once you’ve removed the bark, you can use the carving tools to further refine your design. Perhaps you want to create more definition around the initial entry point or along the line of the damage – this is where you’d use the carving tools.
Step 7: Paint Wound With Lime Sulfur
Once you’re happy with your shari, use a brush dipped in lime sulfur to paint the wound. This will seal and harden your shari so that it cannot get a disease or start rotting away. The lime sulfur will also give it an immediately aged look once it dries – usually about two days after application.
Final Thoughts
Creating shari in your bonsai can be very rewarding when done correctly. By thinking carefully about the placement of shari, and only using it when you feel your tree needs a little something extra and then using the right tools to achieve it, you can make your tree appear much older and add some visual interest.
As with any deadwood, remember that less is often more. Not every bonsai in your collection has to have deadwood, so select only the trees that will be improved by shari, rather than every tree in your collection.