Quick Guide to Bonsai Root Pruning
Bonsai root pruning and maintenance is a crucial step in keeping your tree happy and healthy. One of the reasons newcomers to the hobby are so intimidated by working on the roots is because doing it incorrectly can kill your tree. However, doing nothing is also not an option because, without proper root care, your tree will die as well.
In this guide, we’ll discuss root pruning, some of the pitfalls to avoid, and how to properly prune the roots of a bonsai to keep your tree thriving.
Why Do You Need to Prune Your Bonsai Roots?
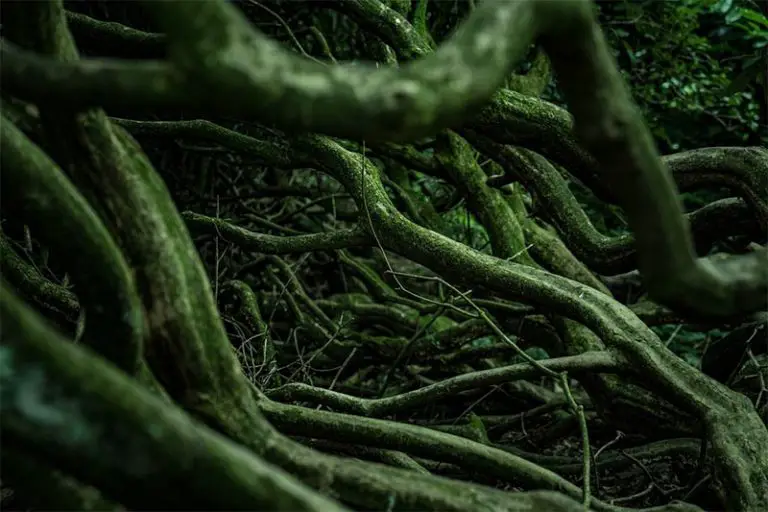
Once you place a tree into a bonsai container, the roots continue to grow and expand. The roots travel throughout the entire pot in search of moisture and nutrients to sustain the tree’s growth and health during this process. The roots don’t just stop growing once they fill the pot, and the problem with this is that it means the roots can start constricting each other, suffocating the tree and leading to death.
Any work with roots, such as root pruning and repotting, is best done in late winter or early spring before the tree has started budding.
Pitfalls to Avoid When Root Pruning Bonsai Trees
Before we get into the steps you need to take to root prune your bonsai, we need to cover a few pitfalls. It’s necessary to avoid making the mistakes that so many bonsai enthusiasts before you made. No one wants to lose a tree.
However, it’s an unfortunate reality when creating bonsai. As such, you want to be armed with as much knowledge as possible to minimize the chances of killing a bonsai.
Avoid Not Balancing the Roots and Foliage
When you start root pruning, especially if you’re still a beginner, you may get slightly carried away. This can lead to you removing too many roots, and the tree will suffer for it. Although most trees recommended for the art of bonsai are relatively hardy when it comes to root pruning, you still want to be careful and not prune away too many roots.
An excellent way to see how many roots your tree will need is by looking at the foliage. There has to be a balance between the top of the tree (foliage) and the bottom of the tree (roots). Keeping this balance in mind is an excellent guide to prevent removing too many necessary roots.
Avoid Letting the Roots Dry Out
While working on the roots, you can become so involved in the task that you don’t notice the roots drying out. This can cause the roots to die, thus affecting the health of your tree. As such, we recommend that you choose to do root pruning on a day that is slightly cooler and overcast.
Also, try to do the root pruning in the early morning or evening, as that’s when the tree sap flows the slowest and your roots won’t be so heavily affected. Another thing to bear in mind is to keep a spray bottle or damp towel close by so that you can ensure the roots stay moist.
You can cover the roots with a damp towel whenever you are busy with other tasks such as preparing the pot. Try and have things ready so that you can complete the root pruning quickly and get the roots safely back in the soil.
Avoid Having the Roots Shift in the New Pot
Bonsai that have just undergone root pruning and have been repotted will not be established in the soil yet. This means even the slightest tug can loosen the tree and disturb the roots. This is problematic as disturbing the roots can cause any newly developed roots to die. This is one of the reasons that many bonsai enthusiasts wire their trees into the pot to keep them secure.
We have a detailed bonsai tree care guide with all the relevant information. Check the guide out here!

Steps to Proper Root Pruning
Now that we’re armed with a bit of knowledge on things to avoid, let’s see how you go about doing a proper root pruning.
Step 1: Remove the Bonsai from the Pot
You’ll need to remove the bonsai from its container. You can do this in two ways. The safest way is to push from the bottom of the container through the drainage holes to lift the tree out. If your container’s drainage holes are too small to fit your fingers through, you can very gently grab the tree at the base of the trunk and carefully pull it from the container.
Remember that if your tree is wired to the pot, you would need to clip the wires first before removing the tree from the pot.
Step 2: Inspect the Root System
If the entire root system and soil comes out of the pot as a single unit, you’ll know it is ready for root pruning. If the roots and soil are still very loose and come apart from each other, you can leave the root pruning for the next season. If this is the case, you can proceed directly to step 7 below.
Step 3: Loosen the Soil Around the Roots
To do good root pruning, you need to get at the roots and see precisely what you are working with. You can use a chopstick to tease the soil away from the roots. Work on the sides first and then move to the bottom of the tree.
Once most of the ground has been removed, you can also rinse the roots in water to get rid of the last bits of soil. Remember to work carefully throughout this process not to damage too many roots.
Step 4: Comb Out the Roots
Now you can use a root rake to comb out the roots in a radial pattern around the tree’s base. This step is essential because when you start your pruning, you want to make sure the pruning is balanced to ensure that the growth remains balanced, and it’s the best way to develop a good nebari (root base/ root flare).
Step 5: Prune the Roots
With the roots nicely combed out, you’ll immediately see which roots are too long, and you can go ahead and prune those with sharp root pruning scissors. Once you’ve gotten rid of all the extra-long pieces, you can move to cut the entire root base back so that it will fit in the spot nicely.
Remember to keep balance in mind as you prune the balance of the root system with itself and the foliage. Never prune more than ⅓ of the roots in a single pruning session, as that can kill the bonsai. Once you’re happy with the pruning, cover the roots with a damp towel or spray with some water to keep the roots moist.
Step 6 Prepare Your Container
To prepare the container for the bonsai, you’ll need to cover the drainage holes with mesh which you can wire in place. Then you can also add the additional wire, which you can use to secure the bonsai in the pot.
As mentioned above, this is a crucial step to keep the tree from moving around in the pot and kill any newly developing roots. Once the wire has been added, you can scoop in your bonsai soil, making sure to mound the soil in the center of the pot.
Step 7: Report Your Bonsai
Place your bonsai into the pot. Take some time to see which position shows off the bonsai the best, making sure to align the front of your tree with the front of the pot. Use the wire you prepared in step six to secure the tree to the pot. Now add more bonsai soil to the pot and cover all the roots. Make sure to use a chopstick to work the soil in between the roots.
Final Thoughts
Root pruning is one of my most favorite processes in the art of bonsai. Unlike the rest of the tree, the roots are hidden most of the time. During repotting or root pruning is the only time you get to see how your root system is developing. View root pruning this way instead of with fear and use our steps to ensure you have healthy roots and a successful bonsai.