When and How to Repot a Japanese Yew
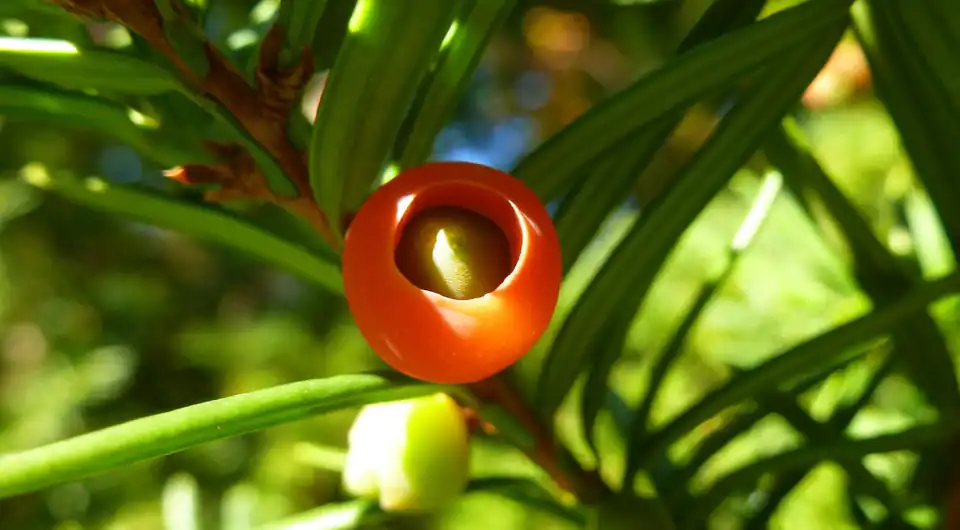
The Japanese Yew is one of the most forgiving bonsai specimens that you can find. It’s perfect for the beginner as it’s tough, resilient, and easy to look after.
That does not mean to say that you can ignore it and simply water and feed it at regular intervals. Every bonsai plant will require repotting at some stage, and the Japanese Yew is no exception
Knowing that your bonsai may need repotting and knowing when to do it are two very different things.
Let’s start by looking at the why.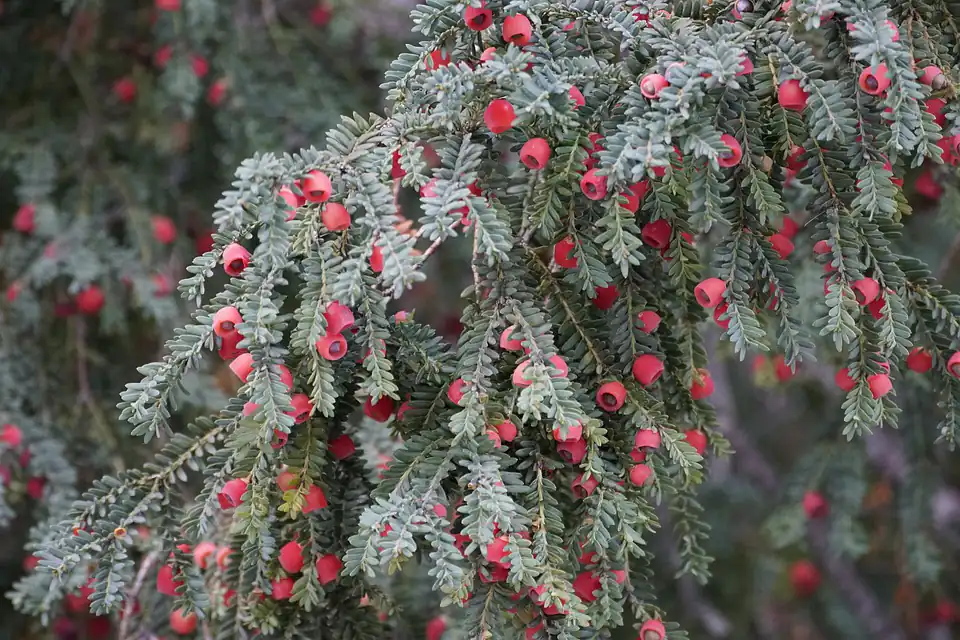
Why Would I Need to Repot My Japanese Yew Bonsai?
To grow a bonsai, we have removed it from the earth and confined it to a pot. In the earth, it has unlimited space to expand its roots, gather nutrients from a large area and grow profusely. Now it relies on you to provide all of these things, so nurturing the root system is every bit as important as nurturing the foliage, flowers, and fruits. Nothing else will give you your desired results without a healthy root system.
When considering the pot to plant your tree into, be careful about always trying to replant it into the same pot. Yes, you can lift the tree, trim the roots, and put it back into the same pot, but remember that the main roots will naturally grow thicker and more robust each year. You can continue to slice them back to force the tree into the same pot, but eventually, you will have to put it into a pot that fits it more naturally. Think carefully about using the same pot over and over again – you may be damaging your tree. After spending years treasuring it, the last thing you want to do is hurt it by forcing it into a too-small pot.
There are several reasons why you need to repot your bonsai.
- As time goes by, the growing medium in the pot starts to decay and traps more water, leaving little room for air. This can cause the roots to rot, which is not healthy for your little tree.
- The roots you need to feed your bonsai are the fine roots that sip up water and nutrients. Again as time passes, these roots become more and more fibrous and clog up the pot, leaving no space for new fine roots. Growth stalls, and the tree becomes stressed.
- The tree could be very young still and is growing fast. It needs to be moved into a larger pot to encourage further growth.
- Trees growing in shallow pots have very little room for their roots to expand. If you want the foliage to develop, you must take care of the roots. When a tree reaches the extent of what it can do with the roots, it will stop growing. This means that the tree’s foliage will only grow to the size of the roots.
How Do I Know My Japanese Yew Needs Repotting?
If you have owned your bonsai for several years, you will know the growing habits of that particular specimen. You will be able to tell when it starts to shoot and when the flowers come along. If you notice that the new growth is not as lush as it has been in the past, then it may well be time to repot.
As time goes by, the growing medium in the pot starts to decay and traps more water, leaving little room for air. This can cause the roots to rot. Before things get to that dreadful stage, the tree will start showing signs of stress, with leaves discoloring and even falling off.
You can gently lift the tree out of its pot if you have recently acquired the specimen. Look carefully at the roots. If they are winding themselves around the pot, it is time to move this tree to a new home.
These signs point to the need for you to repot your Japanese Yew tree.
How to Go About Repotting Your Japanese Yew
This task need not be stressful, and your Japanese Yew is a most forgiving plant so let’s take this step by step:
Step #1: Gather Everything You Need
- A flat surface to work on that is in the shade and protected from the wind.
- A new pot (don’t forget the mesh to cover the drain holes)
- Bonsai potting medium
- Water
- A rubber mallet
- A root rake
- A chopstick, dibber, or similar stick with a pointed end
- A small shovel
- Scissors, secateurs, and clippers
- Wire cutters and small pliers
- Thin wire to secure the tree into the pot
- A selection of small brushes to help brush the old potting mix out of the roots
Step #2: Prepare the New Pot
Ensure that the new pot is clean and if it has been used before, ensure that it has been sterilized.
Cover the drainage holes with pieces of fine gauze to prevent the potting medium from falling out. It is a good idea to take two short pieces of wire and bend them into a u-shape. Thread the legs of the wire, from inside the pot to the outside, through the holes in the gauze, and then turn the pot over. Bend the legs of the u-shape over against the bottom of the pot to lock the gauze in place so it will not move.
Take long pieces of wire and carefully insert them so that they stand proud of the surface of the pot. These will be used to tie your tree into its new pot.
Place a thin layer of your bonsai potting mix at the bottom of the pot and level it out.
Step #3: Remove the Tree From Its Pot
Search for the wires initially used to hold the tree into the pot. Look underneath and cut the wires. Carefully pull them out if you can, so nothing hinders you from removing the tree.
Gently grab the tree by the trunk and ease it out of the pot. It should come out quickly. If not, take your rubber mallet and gently tap the sides of the pot to loosen the root ball.
If the pot has a curved side, you may find it impossible to ease the tree out. In this case, take a sharp knife and cut straight down along the edge of the pot to get the root ball free.
Handle your bonsai with care! It is a living, breathing organism, so be gentle and at all times mind the foliage. Don’t bump it on the tabletop.
Step #4: Tease Out the Old Potting Medium
Start at the bottom, and using the root rake, pull out as much of the old potting mix as you can. Some people use water to help wash it out, but I found this makes a muddy mess.
Be patient, and the old potting mix will come out with gentle teasing to tease the roots apart. Use your pointed stick to get between the more significant roots and pull the old blend out.
Step #5: Trim the Root Ball
As I said earlier, you are looking to keep the fine roots. So start at the bottom of the root ball and cut off the bottom third of the ball. Go on, take a deep breath, and cut!
Now look at the roots you have left and take your secateurs and snip off most of the thick roots. We don’t need those to anchor the plant into the ground, so they can go, making room for more fine roots.
Now, look at the top of the ball. Are there some exquisite roots showing above what was the ground? Those are important to the overall picture you are trying to achieve, so don’t destroy those. Any other roots that may spoil the picture should be snipped off as close to the trunk as you can.
Check the size of the root ball against the new pot. Will it fit comfortably, leaving a space around the edge that can be filled with the potting mix?
If not, measure and trim the root ball back to fit comfortably.
Step #6: Place the Tree in Its New Pot
Place the tree into the new pot and give it a couple of wiggles to bed it into the new potting mix.
Now stand back and make sure that the trunk is in the correct position. Check to ensure the tree is centered in the pot and standing up straight. Look at this from all angles and ensure that the tree is in the right place.
If the tree is lopsided or off-center, deal with it now. Trim the root ball flat if that is the problem or smooth out the base layer of potting mix. Make sure that the tree is in the correct place so your bonsai will look balanced and make an attractive picture.
Using the small shovel, pour potting mix around the tree. Take the mallet and gently tap the pot to settle the gravel down as far as possible. Using the dibber or chopstick, press the gravel into the rootball to firmly surround the roots. You want to ensure there are no air pockets.
Gradually work your way up, working the potting mix firmly into the roots until the pot is filled.
When you are satisfied that the pot will not take more potting mix, take the wires and gently twist them together to hold the tree firmly into the pot. Please do not place the twists in the center of the pot; instead place them off to the side where they will be easier to find when you come to report this tree in a few years.
Now you want to water the tree. Do not water it from the top. Instead, hold the pot in a trough of water and allow the water to percolate up from the bottom. You will see the water come up through the potting mix. Lift the pot and let the excess water drain.
It is a good idea to cover the pot’s surface with mulch such as sphagnum moss. This will help protect the fine roots that lie just under the surface.
Clean the outside of the pot, so it looks good.
Please do not feed the tree, as it cannot take up the nutrients.
Place the pot in a shady, sheltered position to recover for a couple of weeks or until you see new growth appearing.
When to Repot Your Japanese Yew
You want to repot your tree when it has the best chance at recovering and starting to throw out new foliage.
For many enthusiasts, that will be at the end of winter or early in spring when the Japanese Yew is starting to come out of its dormant phase.
Watch the weather to ensure there is not an unseasonal cold snap. If there is, then make sure to bring your Japanese Yew inside for protection. You have given the tree a shock by repotting it, so you do not want it to suffer further stress by fighting off freezing weather.
When Not to Repot Your Japanese Yew
There are instances where it is not a good idea to repot your bonsai.
- In autumn and the dead of winter. In autumn, your tree is storing its nutrients ready for its dormant period, and repotting at this time will destroy those food stores. In winter, the plant is dormant, and repotting will again eliminate those food stores.
- If the plant has a fungal infection or an insect infestation. Your tree is already stressed, and repotting will add to that stress. Treat the fungus or insect problem first, and allow the tree to recover.
- If you want the trunk of your bonsai to thicken up, then do not repot it. Leave the roots to do their thing, and when the trunk is at the size, you want then look at cutting down the root ball. In this case, if the tree is root-bound, take the entire rootball without disturbing the roots and plant the tree in a new larger pot.
- If you intend to do a major restructure to the foliage and cut off branches to reshape the plant, don’t repot and reduce the root mass. Even though the Japanese Yew is resilient, rather do one major operation at a time.
- If the roots have not filled the container and are still thriving, don’t mess with them. Leave them to grow and support your tree.
Final Thoughts
You are the caregiver to your Japanese Yew, and you must understand the responsibility and attend to the needs of your beautiful creation.
Repotting is not a complex process, but you must put aside the time to do it properly. Rushing through this is a recipe for disaster so go slowly, talk to your tree, and make sure it is happy in its new home.
If you are concerned about the process, there are some wonderful videos on YouTube that will help you through the process.


