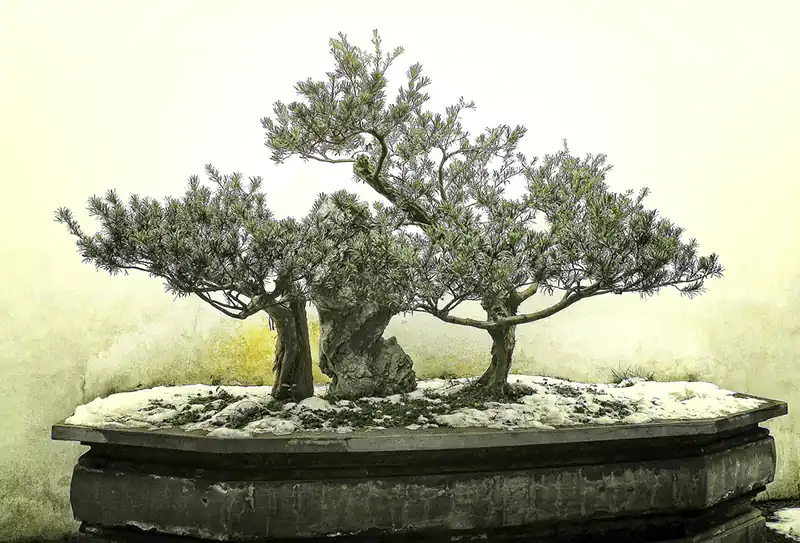
The Japanese have a stunning style of growing small trees together called Yose-ue. In the English tongue, we refer to it as a bonsai forest. In winter, the structures look beautiful among each other, the branches teasing the spaces between. In the warmer months, you’ll see united foliage with leaves and flowers in abundance.
If this sounds appealing to you, we’ll show you how to grow a bonsai forest. We’ll also give you other helpful tips, such as maintaining and caring for it and revealing what you need to craft the landscape.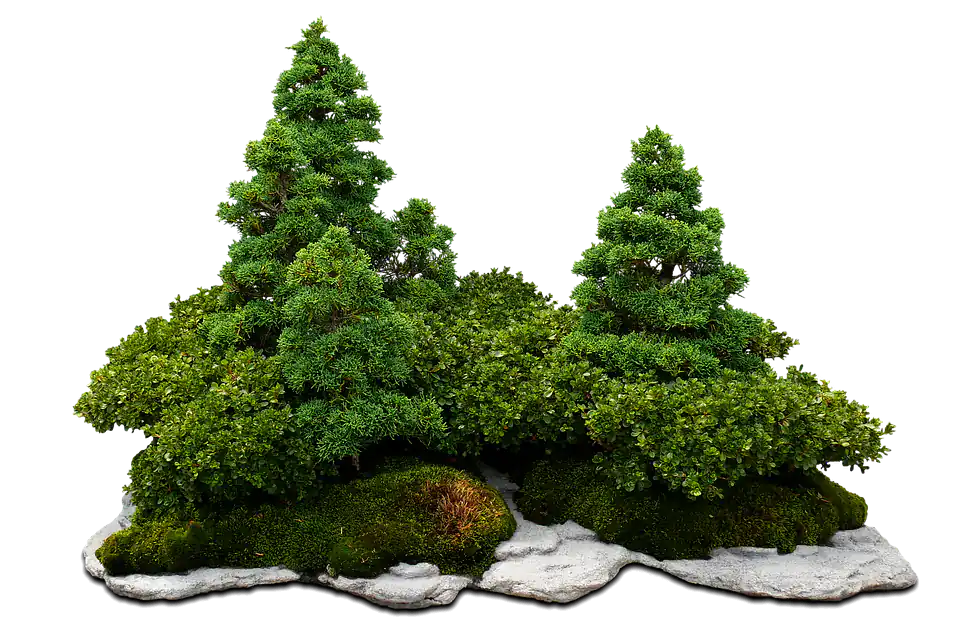
It depends at which stage you plant the bonsai forest. If you’re using young cuttings, it could take between 5 – 10 years to see a proper shape form. More mature cuttings may not take too well to the new soils, but you can cut down the time to grow them with respectable foliage.
You need to keep several conditions in mind. Fertilizer, watering, soil, sunlight, and location all play essential roles in how quickly these miniature trees grow. We recommend you read our guide on bonsai tree care as a guideline.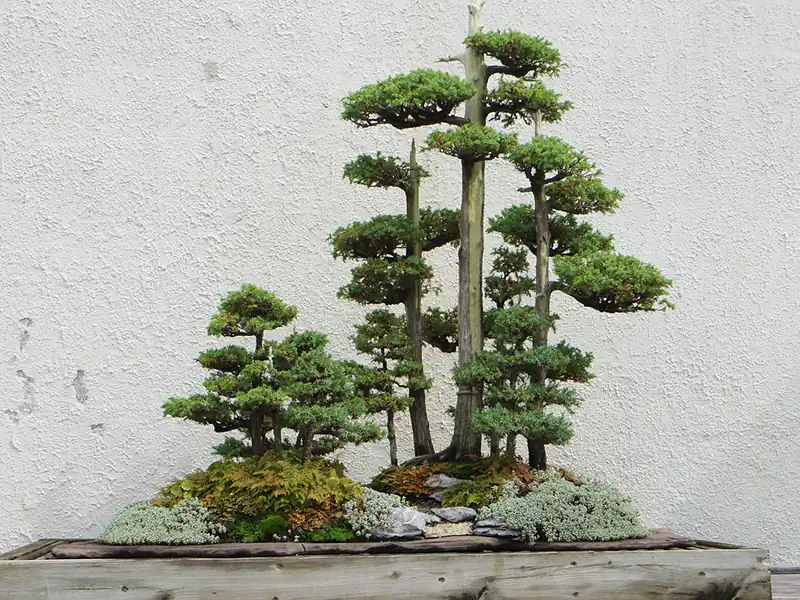
Now that you have a better understanding of the concept, it’s time to show you how to grow a bonsai forest. Remember, it’s an advanced form and can take decades to master. Don’t feel discouraged if you fail; just try again. Later, we’ll show you which species work the best.
What you’ll need
Before you start crafting a bonsai forest, you’ll need the following tools and equipment:
- A shallow and wide bonsai pot with several drainage holes
- Mesh to cover the holes
- Bonsai wire to keep the trees in place
- The right bonsai soil for the species
- The bonsai trees or cuttings
- Shears or other tools for repotting (if there are roots)
- Rooting hormone (if there are no roots)
- Moss for decoration (optional)
- A rock or small pebbles (optional)
Step 1: Design the layout
When you have all the tools ready, it’s time to plan the design of your bonsai forest. You don’t want to start the other steps, reach the part of putting in the trees, and then fumble when you realize you don’t know how you want them arranged. Time is precious while the roots are lying bare.
You can either just visualize the design in your mind or sketch it on paper or using your computer. We prefer using paper and drawing the plan while sitting with the equipment and container before us. In this way, we can also use our hands to place the trees in various forms until we’re satisfied.
Step 2: Prepare the container
Once you know how you want your bonsai forest to look, it’s time to prepare the pot. You’ll want to secure wires to the drainage or any other holes near the spots where your trees will be. If you feel safe in the knowledge that the trunks won’t fall over, you can skip the wires.
However, we need to usher a word of caution. With the container as shallow as it is, there may not be enough soil to keep them stable. It’s always a good idea to wire the trunks to the pot so that they remain in place, especially if you plan to place them outside where the wind could blow them over.
Finally, be sure to put some mesh over the drainage holes. You can weave the wire through the mesh to make them more stable and ensure they don’t move around. The mesh prevents roots and loose soil from traveling through the holes.
Step 3: Place your bonsai trees
You can now insert a substrate layer first at the bottom of the pot. Many people use chelate or bamboo coal. Not only will they help with securing the trees, but they also assist with neutralizing pH levels. It will also aid with aerating the roots at a later stage.
Now comes the fun part, but we’ll need to split it into two different conditions. If you’ve opted to place cuttings with no roots as yet, you’ll need to first dip the ends in hormone powder. Once done, secure them to the wires in the design you planned earlier. They don’t need to stand upright as yet, as long as you have them in place.
We recommend using cuttings or small trees that already have roots. You can always keep cuttings in small plastic cups with soil until they have roots and then transplant them. As soon as they have roots, you can clean the soil from them and tie them with the wires according to your design.
Step 4: Insert the soil
With all your trees in place for your bonsai forest, you can now insert the soil. Pad it in nicely if it’s a sandy substrate, or make sure pebbles or bark substrate hold the trees so that the wire doesn’t have to do all the work. You can either make the soil flat or create a mound in the middle or on one of the sides.
You can also place mulch on the surface or another material if you need to keep the soil down. When you water it, you need to check that the substrate doesn’t shift around too much. You also don’t want the water struggling to enter the soil, pouring over the sides instead.
Step 5: Decorate to your heart’s desire
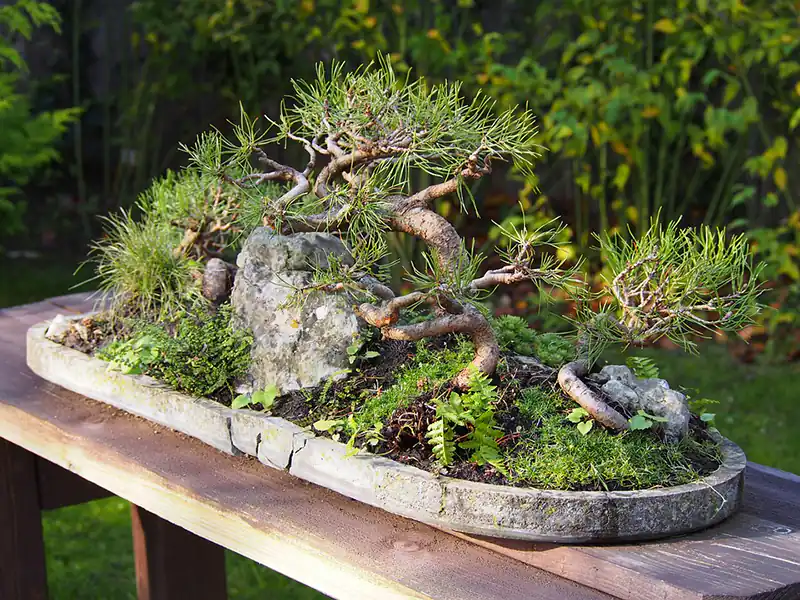
Have you ever worked through an actual forest? You’ll notice that there isn’t just soil around among the trees. There are rocks and stones, with some of the fallen leaves decorating the forest floor. While you don’t need to replicate every aspect, it’s nice to have some decorations.
You can place one central rock in the middle or on the side to draw attention to it, or feel free to litter the soil with tiny pebbles. Scatter them randomly, and make sure they don’t cover the entire surface. You want it to look as natural as possible.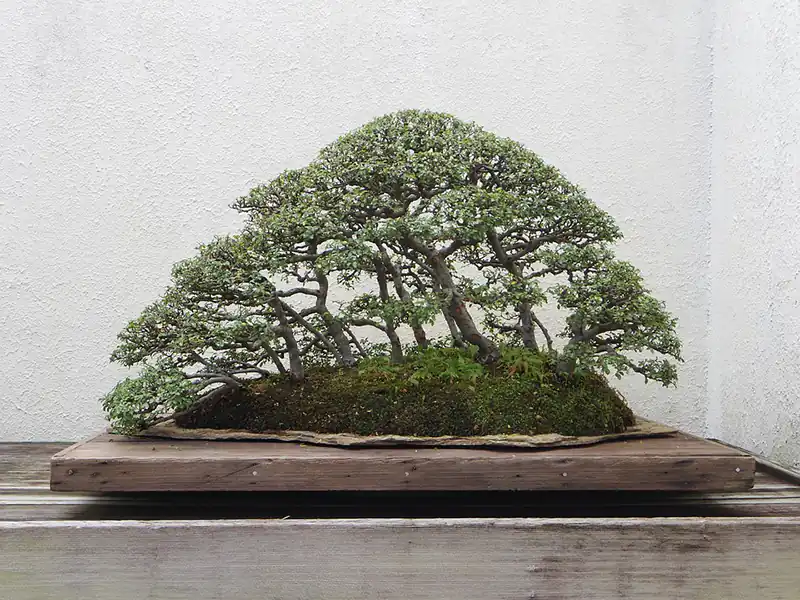
When you’re working on your bonsai forest design, you need to decide which version you’re aiming for. You can be creative and plant them as you wish, but there are specific types you can use. Here are only a few of them we enjoy applying.
Random
There’s no harm in simply placing them haphazardly where you wish. After all, there’s no grand architect that sits and decides where seeds will fall and grow in the wild. So, if you’re aiming for the most natural look possible, put them anywhere without any care.
Clumped
If you’re dealing with conifers or trees that grow straight up with tight-knit leaves, you can grow a bonsai forest as a clump together. The best way to do so is to clear the trunks of branches from the direction you’ll be looking at them. In this way, you view the structure despite how closely you place them.
Linear
One top design for a bonsai forest is a straight line. If you can manage to create some sort of stream on the one side, that will supply water when the trees need it while also making it appear like they’re standing by a river. It’s not necessary, and there are other ways you can make your linear design more appealing.
Hill
For this design, you’ll need to place a mound of soil in the middle or on one side. You can then around the trees on it or around it, depending on the appearance you want the most. Feel free to use this style in conjunction with any of the others mentioned, as the primary difference is the raised substrate.
To the Side
Another technique that looks stunning for a bonsai forest is placing the trees only on one side of the pot with open ‘land’ on the other. You can make zen markings on the open soil or place small decorations. Another option is simply showing off your moss collection.
Along the Rim
If you want to leave the middle open and crowd the outer edges of the pot, you can arrange the trees along the rim. Try to space them evenly so the branches have space to grow on either side. Essentially, you can water in the center and let it reach the roots on all sides. This bonsai forest design is stunning when viewed from above. You can even place a rock or tower in the middle between them.
Geometric
Finally, you can aim for a geometric shape if you want to be more mystical. You can around the trees in a circle like a grove, a triangle, a square, or any polygon shape. It makes your bonsai forest look impressive and veers away from more natural forms.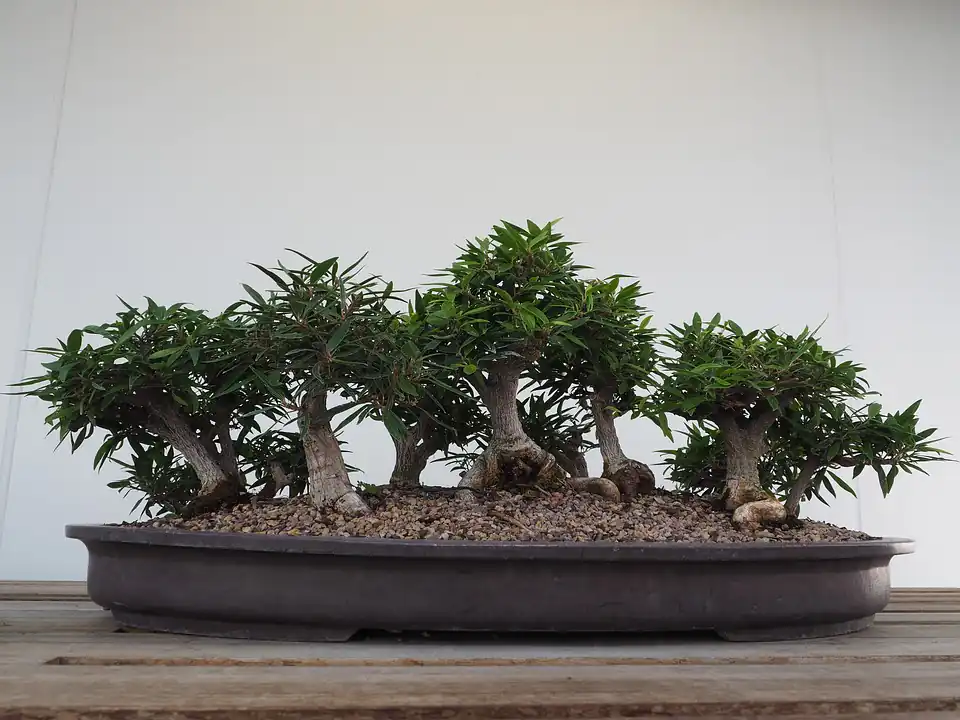
We know we’ve given you several guidelines for growing your bonsai forest. We’d rather you have too much information than too little. Here are some tips to bear in mind when working on your design:
- Quality over quantity: Many beginners start out with too many bonsai trees in their forest. They become overexcited about the idea and so go wild with cuttings. Just remember that they’ll be growing over time, and you don’t want them overcrowding the pot.
- Distance between them: Ensure you create enough space between the trees. While some upright trunks can get away with the clump design, not many others can. There needs to be adequate airflow so the leaves can breathe and dissipate heat.
- Weight of the container: We know many bonsai pots have lightweight designs, but you’ll want a material that’s heavy. With shallow containers, the multiple trunks may cause the whole landscape to tip over if one falls over despite the wires.
- Pot’s shape: The pot’s shape plays a pivotal role in the bonsai forest design. You can match the arrangement of trees with the shape, which works well with a geometric design.
- Pay attention to trunk thickness: Some trees gain girth quickly while others remain thin. Over the years, pay attention to the trunk thickness, especially when repotting. You may need to rethink your design at a later stage.
- Watch those wires: Humans are the only ones who can be harmed by those bonsai wires. If you tie them too tightly to the trunk, it can cause damage when the tree grows for two seasons or more. It’s more challenging to adjust the wires when they’re attached to the drainage holes, and you don’t want to disturb the roots too often.
We’ve already mentioned our general guide for looking after your small trees, but your bonsai forest will need extra attention. Here are some aspects to bear in mind when growing one.
Maintenance
The species and design you choose for your bonsai design will determine how much you’ll need to prune the branches and leaves. As the seasons progress, watch how quickly the shoots develop. If they become too dense or don’t with your original design, you may need to trim sooner than usual.
Repotting and Soil Care
Since there are more roots than with a single tree, you’ll need to pay extra attention to the soil. Don’t repot too often once the roots are established, but make sure there’s enough air for the roots to breathe and absorb nutrients. If the substrate is too clumped or the roots have taken over, you need to transplant all the trees.
Sunlight and Airflow
It’s vital that all your trees receive adequate sunlight. It may be harder to achieve with geometric designs, so you’ll need to rotate the container twice a week to ensure they all receive enough light. Also, keep checking that there’s enough airflow within the foliage and between the trunks.
Water, Humidity, and Drainage
Watering needs to be done carefully when you have a bonsai forest. If it’s the same species, it’s generally easier. But the soil may dry out quicker than usual due to the number of roots. However, you want to make sure that root rot doesn’t set in from too much moisture.
Winter Care
When the frost appears in winter, the forest might provide its own shelter from the wind and rain. Still, it’s best if you bring the bonsais inside to keep them safe and to ensure that none of them are harmed. The last thing you want is your design destroyed from low temperatures or raging storms.