
How to Repot a Jade Plant
This is a straightforward process, but you must remember that the Jade Plant is a succulent and needs careful handling. The branches and stem will break easily with rough handling, and the bark will mark easily, and the marks will be permanent.
Step #1: Gather your Requirements
The first step is to gather all the materials that you will need. These include:
- Potting mix. Any standard bonsai potting mix will be suitable.
- String – do not use wire to secure the Jade Plant to the new pot.
- A material to protect the trunk as you attach it to the new pot.
- Sharp clippers or scissors.
- The new pot.
- A chopstick or other pointed wooden stick.
- A small rake.
- Small pieces of mesh or broken pot to cover the drainage holes in the new pot.
Step #2: Remove the Jade Plant
Carefully lift the plant from its editing pot. You may have to take a blunk knife and run it around the edge of the pot to loosen the rootball sufficiently that you can carefully lift it out.
Remember that this is a succulent, and rough handling or tugging to get it out of the pot may break branches.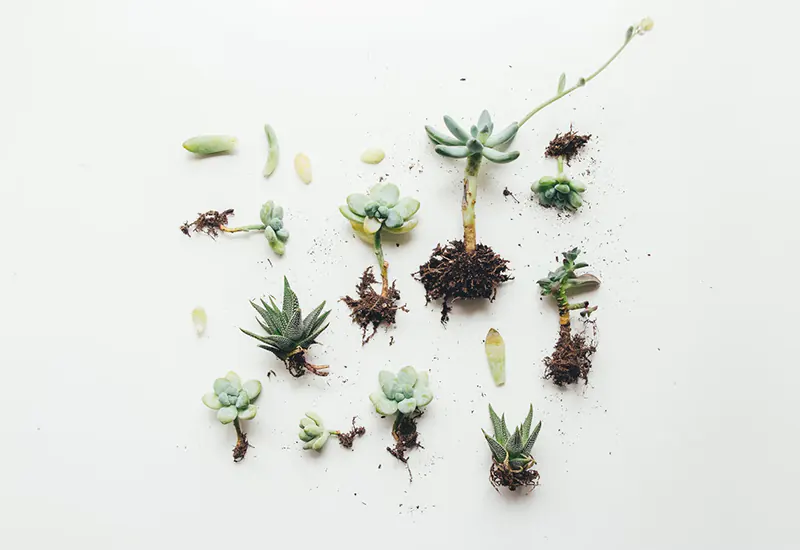
Step #3: Remove the Old Potting Mix
Take a chopstick or small rake and carefully remove the old potting mix. The Jade has a shallow, delicate root system so go gently gently to not damage the roots too severely.
If the roots need trimming, do so now. 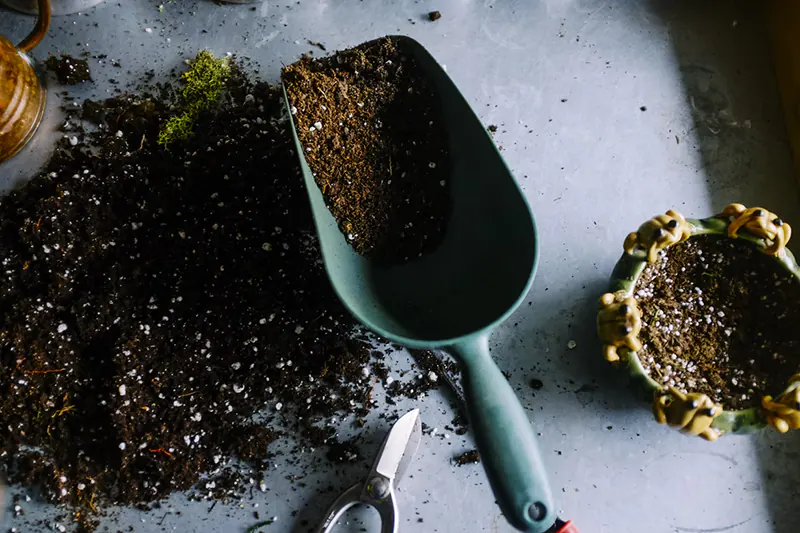
Step #4: Prepare the New Pot
Take the new pot and cover each drainage hole with mesh or pieces of broken terracotta pot.
Secure the jute string around the pot, ready to tie your Jande plant down once it has been put in place.
Lift your plant and stand it where you think it should stand. View it from all angles and ensure that you are happy with its stance.
Pour in a little potting mix to hold the plant in place.
Carefully tie the plant down. Remember that the bark marks very quickly, and the marks will be permanent. Place some form of protection between the string and the plant. I have used felt pads and pieces cut from an old car inner tube to protect the trunk.
Once the plant is secured into its new pot, continue adding potting mix. Use the chopstick to tamp the potting mix around the plant’s roots carefully.
Step #5: Place in a Shady Spot
Don’t water the Jade Plant at this stage. Take the pot and place it in a shady spot or a greenhouse and give it at least seven days for the roots to recover and begin growing. After a week, you can water as usual.
Refrain from giving fertilizer for at least a month.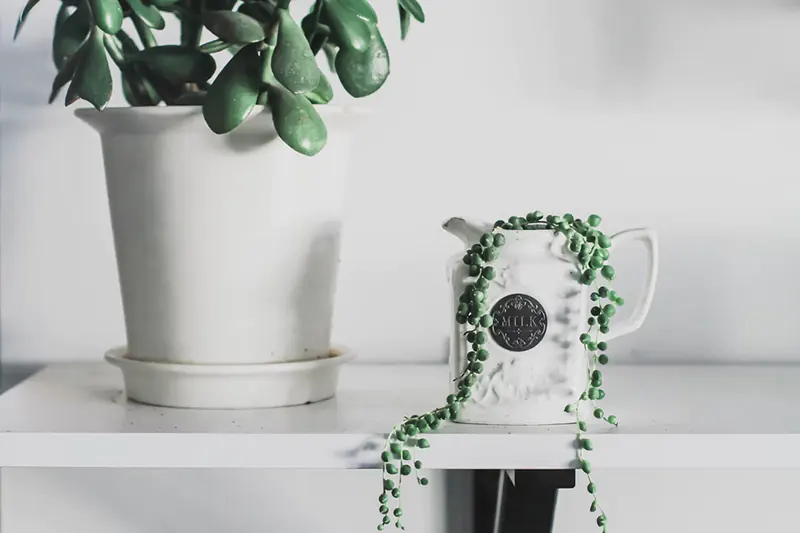
Final Thoughts
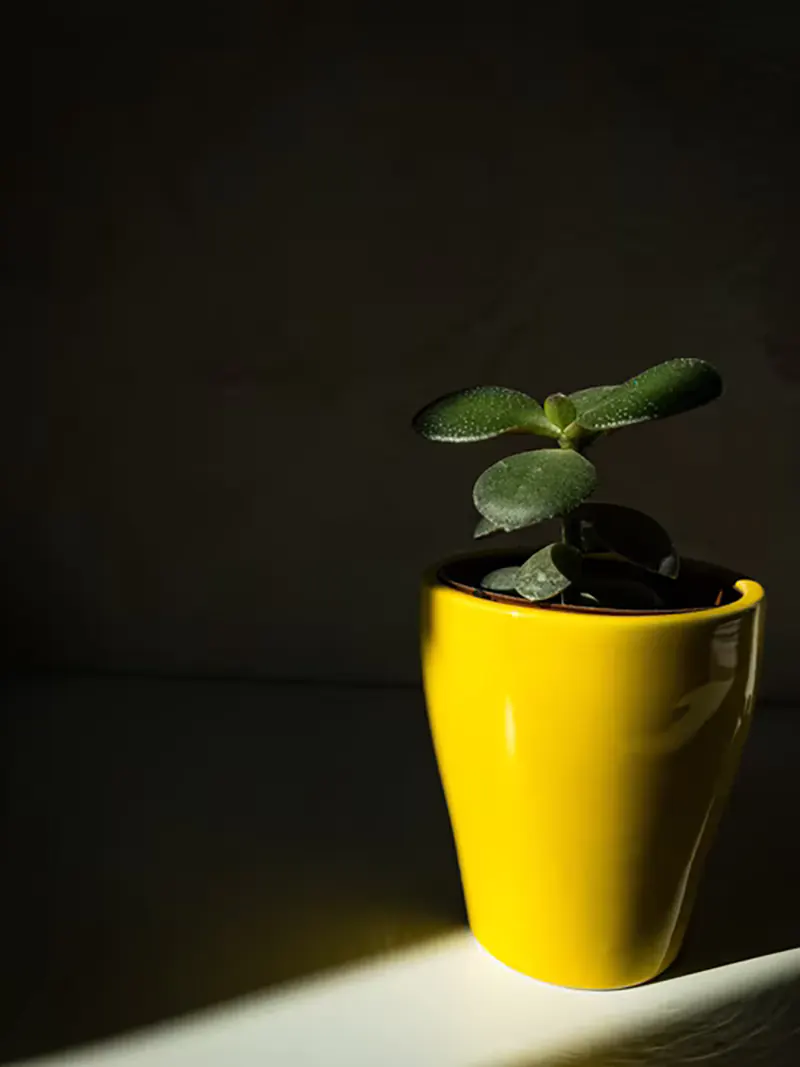
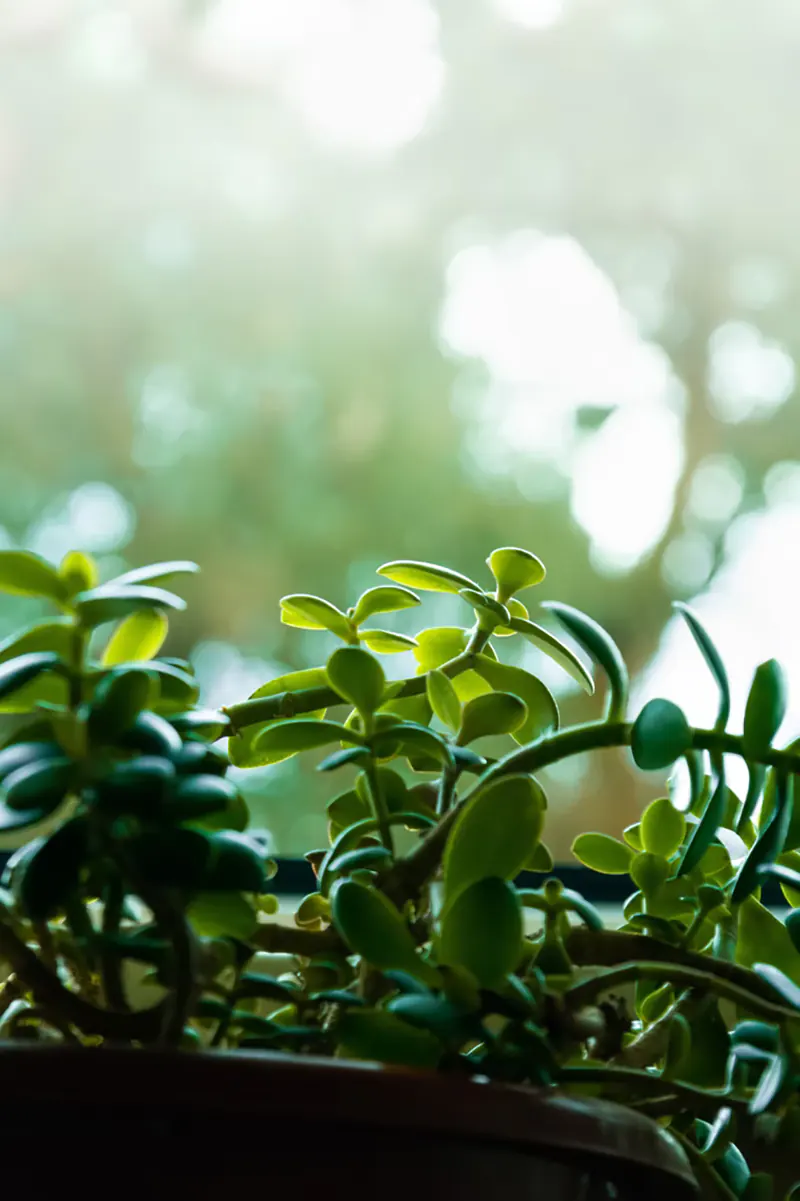
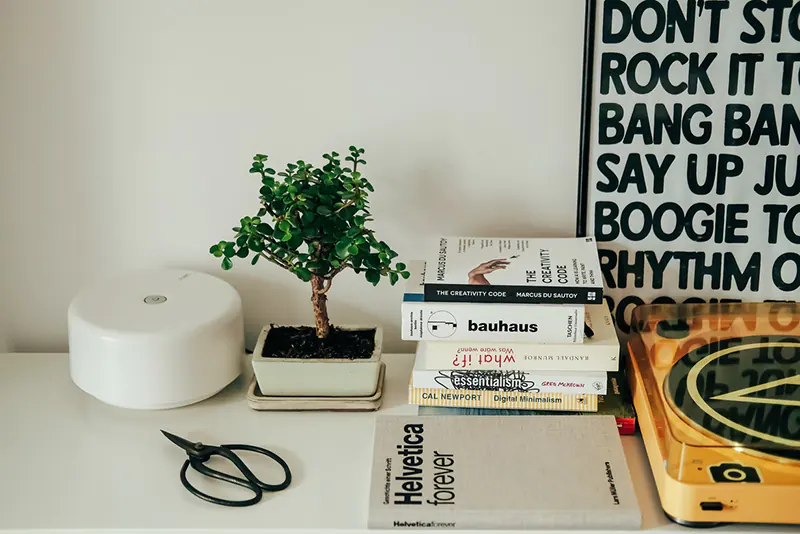
Jade Plants are beautiful with their fleshy bright green leaves and pretty trunk and branches. These are very popular house plants worldwide, and with a bit of care, they can make charming bonsai specimens. They are best suited to upright styles but can be trained into most styles.
Treat your succulents carefully during repotting, and they will be around for many years to give you pleasure.


