
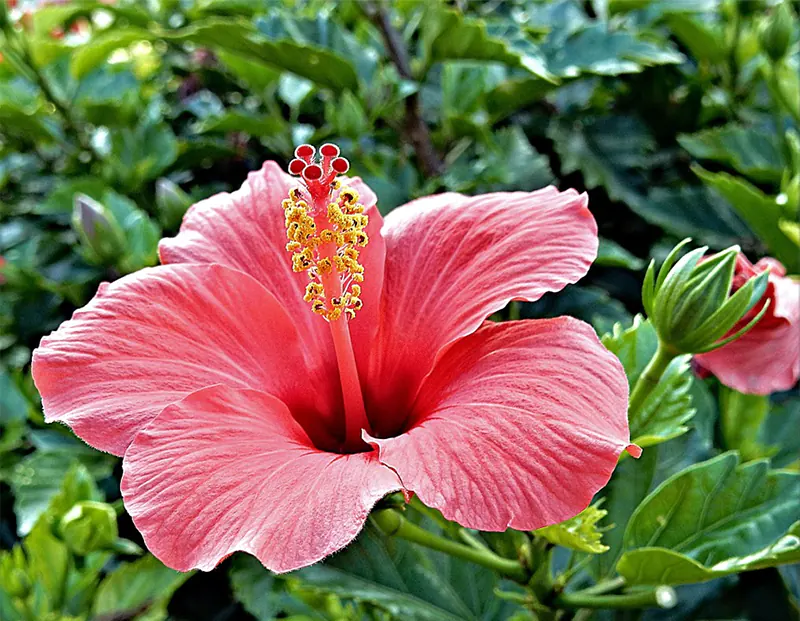
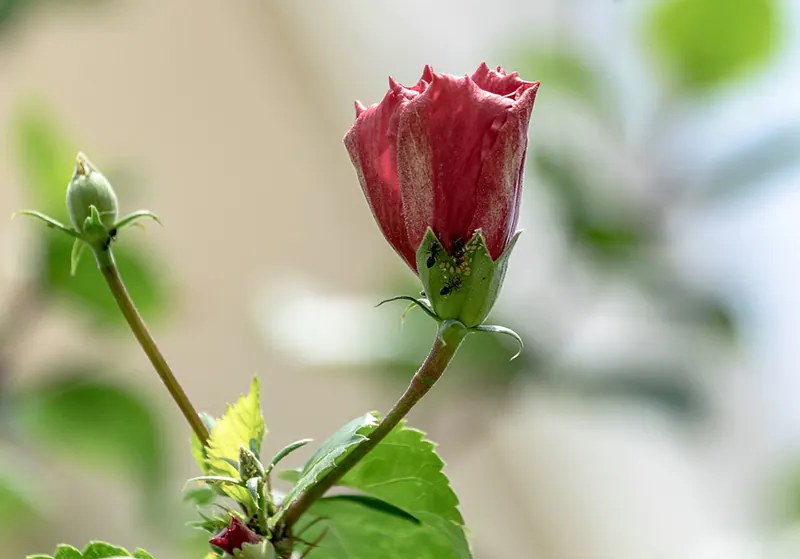
Hibiscus is one of the many larger-than-life flowering plants that most people would love to have in their gardens. Unfortunately, the sad reality is that not everyone has a yard big enough to accommodate how monumental this tropical shrubbery tends to get.
If only there were a way to take what would otherwise be a massive hibiscus bush and shrink it down to keep it in a smaller garden. Well, actually, there are two ways to achieve this realistically, and in the article below, we’ll explore them both comprehensively!
The Best Ways to Keep Hibiscus Small
If you search far and wide enough, you’ll probably come up with a few outlandish ways to keep plants from getting too big. But the most commonly used method to achieve this is pruning. Pruning essentially means systematically cutting bits and pieces off of your hibiscus shrub in order to keep it a manageable size. There are specific rules as to how much, how frequently, and when to prune your hibiscus. It isn’t a legal thing; it’s just that if you take too much off of your plant at once, prune it in the wrong season, or prune it too frequently, it could die.
There is, however, another method, one that we here at the Bonsai Alchemist are particularly fond of. That method is bonsai, and instead of simply trimming a bush back to keep it at a manageable size, you can do this to guarantee a perfectly proportional miniature tree that is trained to stay small. There is a proviso here, however.
Both of these methods require time and attention. If you stop training or pruning your tree or shrub, it’ll get bigger and eventually be a fully-grown hibiscus shrub. Let’s kick this article off with the particulars of pruning and then make our way to how to turn your hibiscus shrub into a bonsai.
When to Prune your Hibiscus
This question usually revolves around where you live. However, the most beneficial and commonly accepted time to prune your hibiscus plant is during the spring. You’re more than welcome to prune your hibiscus during the warmer summer months or the early weeks of fall, but it’s generally discouraged to exercise any pruning activities during winter or deep into fall. There is a very good reason for this.
Pruning primarily encourages further growth. In particular, Pruning your hibiscus plant is also a way to get your shrub to be a little bushier or encourage denser foliage growth. The reason this works so well has a lot to do with the mechanic in our own bodies that initiates muscle development.
When you exercise a muscle, using my own noodle arms as an example, the message that your muscle gets is that it isn’t strong enough to perform the tasks you need to perform. In scientific terms, strenuous exercises like the bicep curls and dips I’ve been trying to work into my daily schedule essentially damage muscle fibers by creating minuscule tears in them. The intense pain you feel in your body after a strenuous workout is due to the breakdown of muscle fibers. However, after your workout, your muscles begin to repair themselves. They do this through a cellular process where muscle fibers are fused together to form new muscle mass. This muscle mass is created by protein strands in your musculature called myofibrils. As these myofibrils bond together during the post-workout reparation process, they increase in number and thickness and result in muscle hypertrophy which we commonly refer to as ‘gains.’
This muscle gain is all due to stress being placed on the muscles as you exercise. You’re introducing a new class of heavy-duty work for your muscles to perform, and your muscles respond by strengthening themselves to mitigate further damage.
A similar process takes place when you prune your hibiscus. Pruning is a form of stress. This is because all plants want to grow, expand and thrive. When you take your pruning sheers to your beloved hibiscus, the message that the plant gets is that it needs to reinforce itself in order to mitigate further damage. Because of this natural reaction within the plant’s molecular structure, you want to isolate your pruning activities to your hibiscus’ active growth phases. That way, it doesn’t have to expend resources it doesn’t have in an attempt to bolster its own strength and resilience. It’s a kindness, and pruning during a dormant phase could kickstart processes within your plant that leave it a little worse for wear.
Even though we’ve mentioned that early in the fall is still a fairly acceptable time to arm yourself with pruning sheers, this is not an active growth phase. Therefore, your hibiscus may not produce the dense concentration of new growth that it would be able to during an active growth phase.
Your spring pruning habits should be the most thorough. As this is an active growth phase, you can rest assured that anything you take off will result in denser foliage and more rapid flower production. This is the optimal time to get rid of dead branches or those that are not performing at the plant’s capacity. This helps your plant rejuvenate for the summer months and will promote even more vibrant blooms and dense, lush vegetation.
How to Prune Your Hibiscus
First things first, you need to make sure that your pruning shears are clean and sharp. I’d recommend sterilizing them with alcohol gel beforehand to prevent the transmission of any mites or disease from one branch to another or between plants.
When you prune your hibiscus plant, only cut the individual branches back by about a third. You should also take care to leave at least two nodes on each branch, as this is where new growth will start. When making your cut, place your shears just above a node, leaving around a quarter of an inch between the node and where you cut. This is also the best time to remove any diseased, weak, or completely dead branches so that your plant starts pushing nutrients toward those regions again. You should also remove any branches growing toward the center of the plant. Once the summer sun is in full force and your plant is bathing in its glorious light, you can give your hibiscus an extra boost by increasing its allotment of fertilizer.
Hibiscus Pruning: What the Experts Say
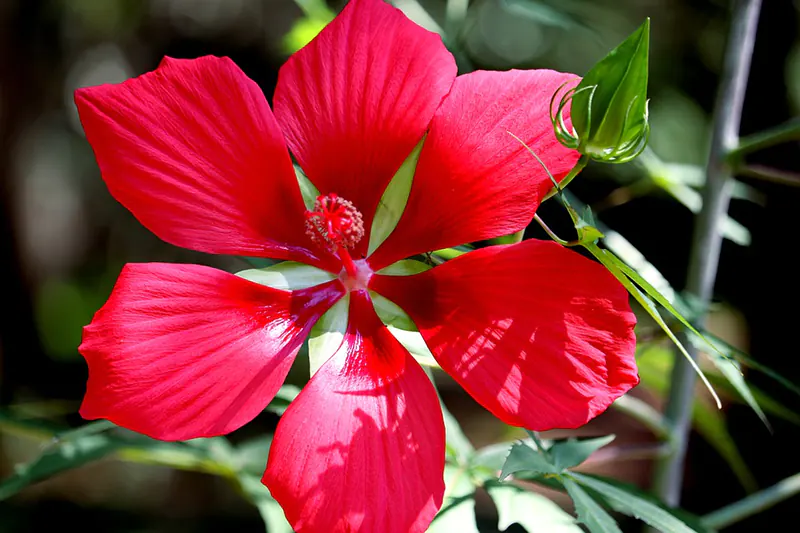
If you’ve read a few of our other hibiscus-related articles, you’ll know that there are different types of hibiscus, differentiated by their preferred climate and hardiness zones. Here are the sentiments of a few experts (other than us here at the Bonsai Alchemist) regarding how to keep the main types of hibiscus neat, tidy, healthy, and most importantly, vibrant and beautiful.
Pruning Tropical Hibiscus
Gena Lorraine is a gardening expert and hibiscus enthusiast over at Fantastic Services. In relation to the pruning of tropical hibiscus, Gena says the following:
‘Native hibiscus is very easy to care for but sometimes they can grow a bit leggy and too tall. To keep a healthy height, make sure to cut its stems back towards the end as they’re from the previous season and the plant will not bloom from these. You should do that in late winter or early spring before the new growth. Always use sharp blades and if the plant looks tender and leaning, you can tie it to a supporting stake. (Tropical) hibiscus should be pruned until it achieves a tree-like shape but the timing really depends on where you live. In the US the best time to prune is in spring or when the weather starts warming up. Never prune tropical hibiscus in fall as you risk freezing the new and still tender growth. Also, it’s recommended to bring your tropical hibiscus inside in winter if it’s planted in a pot. On the other hand, if you live in a tropical area, you can prune the plant all year round. Start pruning by removing the outer growth and any suckers growing around the base. Of course, keep an eye on diseased branches to avoid spreading.’
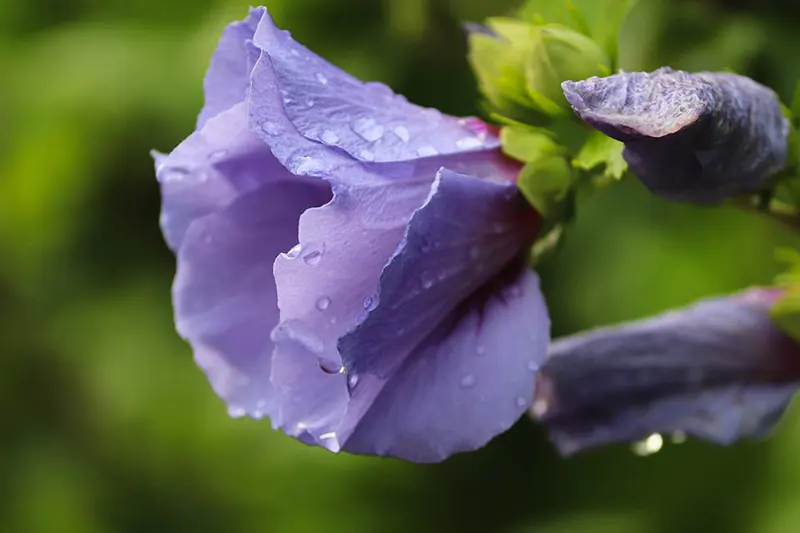
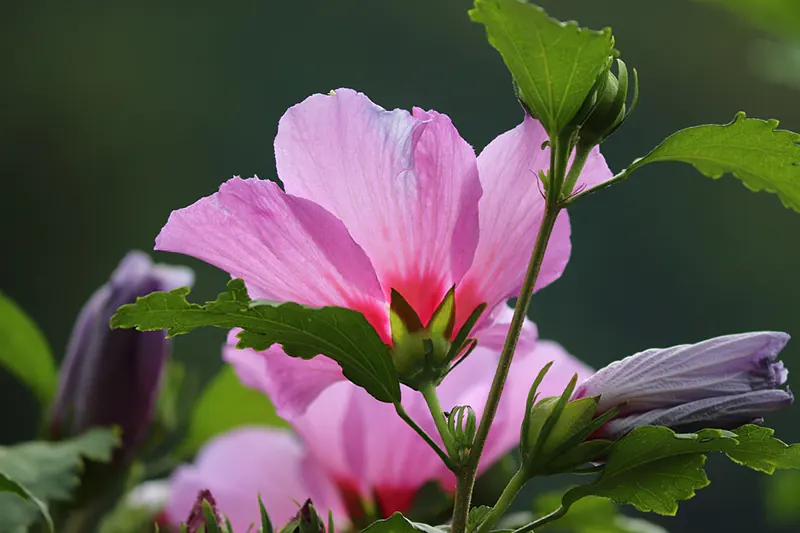
Pruning Hardy Hibiscus
We have another gardening expert and hibiscus enthusiast, Mary Jane Duford, to thank for her input on how to prune hardy hibiscus:
Hardy hibiscus is a low-maintenance perennial which needs only basic pruning.’ She adds, ‘This type of hibiscus dies back to the soil surface each winter in the cooler zones in which it thrives. New sprouts appear in the springtime after most other hardy herbaceous perennials have sprouted. At this point, any remnants of overwintered stems can be trimmed off with sharp, clean pruning shears. (Hibiscus stems) can also be left standing until early spring to support the local bird population during the winter months.’
How to Turn Hibiscus into a Bonsai
As previously mentioned, this is another way to keep your hibiscus plant from getting too big. We’re going to approach this section in the form of a step-by-step guide. By the end of this section, you’ll hopefully have perfect clarity on how to keep your hibiscus from getting too big by cultivating it as a bonsai.
Step 1: Select a plant appropriate to your region
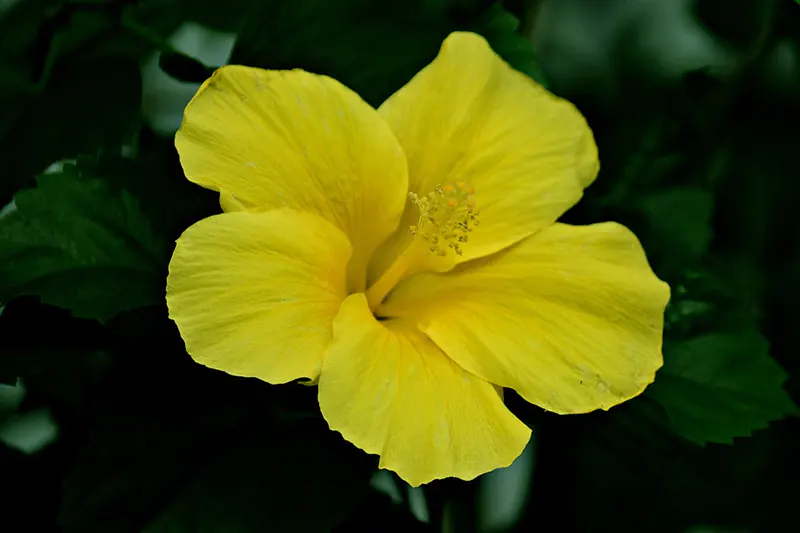
Not all regions have the same climate. We get into much greater detail in our recent article concerning the optimal temperature range to keep hibiscus in, but we’ll give you the cliff notes here for clarity. There are two main types of hibiscus, hardy and tropical. You’ll also remember this from the previous section. Tropical hibiscus, the most commonly found example of which being hibiscus rosa-Sinensis, flourishes in the tropical regions of the world.
These areas are located between the tropics of Capricorn and Cancer, hence the name tropical. The tropics typically have hotter weather than the regions of the earth closer to the poles. This is due to the heat of the equatorial regions and the proximity of the tropics to the equator. This means that hibiscus typically prefers hotter climates with more hours of glorious sunlight. If you live in a cooler climate, however, instead of tropical hibiscus, pick one of the hardy varieties.
Step 2: Indoors or outdoors?
In the case of hibiscus, this is a fairly easy question to answer. Hibiscus needs at least 8 hours of full sun in order to thrive. Therefore, the best place for a hibiscus bonsai is outside, where it can harness all the sunlight it can handle. However, if you have a sufficiently sunny spot inside your house, something like a sunny windowsill or a room that is bathed in light for many hours in the day, inside would be appropriate. Here, again, you could opt for a much less finicky hardy hibiscus if you plan to keep your bonsai inside.
Step 3: Size matters
Bonsai trees come in all sizes. There are certain sizes that immediately spring to mind when you hear the word bonsai, but you can grow your bonsai as big or as small as suits your will. The smallest recommended size for a fully-grown bonsai is around 6 inches, or 15.2cm tall, while the suggested maximum size for a bonsai tree is around 3 feet, or 0.9m tall. Again, these are simply suggestions and recommendations. Typically, bonsai is one area in life where you don’t necessarily have to go along with strict conventions. Just look at the man who created an entirely new bonsai style simply because his tree had a less ideal shape for other conventional styles.
There are, however, a few considerations you should take into account when deciding on the size of your eventual bonsai:
- The size of the container you’d like to display your fully-grown bonsai in.
- The available space wherever you’d like to display your bonsai.
- The availability of unrestricted sunlight wherever you’d like to place your bonsai.
- The time you’d be able to commit to caring for your bonsai.
Here, it’s important to note that larger trees take up a lot more time to care for.
Step 4: Pick a style for your bonsai
We’ve already covered the most widely-accepted styles for bonsai cultivation, including the unique South African styles that have received the approval of the Japanese masters. The TL: DR here is that there are a few base styles to choose from:
- Formal upright
- Informal upright
- Slanting
- Cascade
- Semi-cascade
Each of these styles is typically used for different trees, such as the beautiful juniper as a formal upright or a weeping willow as a cascade. But with a little more work, dedication, and artistry, you could use any of these styles for the hibiscus you’ve selected.
Here’s a little tip: If you’d like to learn more about the various bonsai styles, consult one of our articles on the topic. Once you’ve got a decent idea of what kind of look you’d like to achieve with your bonsai, head to your local nursery and look for a hibiscus plant that corresponds with that end goal. So, for instance, if you want to achieve a more formal upright style, choose a plant that has a primarily straight stalk. If you’re going for something more in a slanting or cascade-type direction, pick a plant that already has a kink or lean in its stalk.
Step 5: Seedling or sapling?
There are distinct advantages to each choice here. If you choose to grow your hibiscus bonsai from seed, you’ll have far more control over the growing process, and you can start shaping a lot earlier to ensure your tree grows in the manner in which you’d like. However, it can take up to five years for a seed to grow into something resembling a young bonsai tree. For this reason, some people prefer to choose an already rooted, flowered, and growing hibiscus plant.
This shortens the time from the start of your plant’s journey in your care to fully-fledged bonsai considerably. However, you won’t have as much control over how the plant grows, and shaping may be a little more difficult. Either way, bonsai cultivation takes years to bear any measurable results, and it truly is one of the more patient artforms.
There are many other routes you could take when starting your hibiscus bonsai. You could choose to grow your eventual bonsai from a cutting, this ensuring its pedigree if taken from a thriving, vibrant, healthy plant. You could also get into grafting and create truly unique, eye-catching bonsais.
Step 6: Select your pot
We’ve covered pot selection in a previous article, but there are little pearls of wisdom we’d like to share with you right here. First of all, bonsais are typically planted in pots that restrict growth. For this reason, not all pots are suitable for bonsai cultivation. You want your pot to be big enough to support the kind of growth you’re looking for but not so big that it dwarfs your bonsai by comparison. You also want to ensure that your pot has drainage holes in the bottom to prevent root rot.
This isn’t something you’ll likely have to look out for if you buy the proper bonsai-specific pots. There are also appearance-related considerations to keep in mind that we delve into in our article about selecting the right bonsai pot. TL: DR is that cultivating a bonsai is a form of communication, and you want the color, shape, size, and detail of your pot to convey a particular message, as well as echo the message that your choice of bonsai style carries over to all who view it.
Step 7: Prepare your tree.
This step is for if you opt to use a hibiscus plant that is already growing and bearing flowers. However, this should also be done when moving your bonsai to its display container. Firstly you need to prune the tree into its desired form. This won’t be exact as your tree likely still has a lot of growing to do, but make sure that at least the central stalk or stem is in a workable state. If you intend for the tree to grow in a certain way once you’ve potted it, a little well-placed wire to keep things in shape works wonders. You can use wire to manipulate branches into all sorts of interesting shapes that work with the idea you have in mind for your eventual tree.
Step 8: Remove your tree and clean its roots
This is a simple enough step. All you need to do is carefully remove your tree from its current spot. If you choose a hibiscus plant from your garden, you’ll need to dig it out with its roots intact. If you opted for a hibiscus plant from the nursery, peel off the plastic covering, and you should be ready to go.
Before you get started on the roots, it may be a good idea to brush away any dirt stuck to them so that you have a good viewing angle of the entire root structure. You can use root rakes, tweezers, chopsticks, or any other tool with a similar function for this purpose. Your plant’s roots don’t have to be completely spotless. This is just so that you can see what you’re doing as you prune them.
Step 9: Prune your roots
Bonsai trees can outgrow their containers rather easily if you don’t control their root growth. The general rule of thumb when it comes to root pruning is to trim off any large, thick roots and any roots growing upward toward the surface of the ground. What you should be left with is a fairly neat collection of long, slender roots that won’t make your bonsai difficult to plant. It’s always easier to work with a lot of thin roots than one massive, thick one.
Step 10: Prepare your pot.
We’re really close to where you actually plant your new little bonsai. Before that, however, we need to discuss what goes into your pot. We’ll keep it short, sweet, and to the point, though. Basically, you need a coarse medium at the bottom of your pot. This will be something like coarse grain soil, and I’ve actually seen some people use gravel quite successfully. Above that coarse layer, you’ll start layering progressively finer mediums as well as a few nutrient-rich substances if you so do desire.
There isn’t really a hard and fast rule where the soil is concerned. To be safe, tailor the soil and nutrients you use to your specific plant, in this case, hibiscus. We have an article on how to fertilize hibiscus that you can use as a reference. Leave a little space at the top of your pot so that you can cover your tree’s roots.
Step 11: Plant your tree
We’re there! It’s finally time to plant your tree. All you really need to do here is place your tree into your pot and cover its roots with a fine, well-draining medium. If you want to, you could add a layer of moss or gravel to the very top, but this is primarily for the aesthetic. If you’re struggling to keep your new bonsai tree upright, use a wire to secure the tree to the pot using the drainage holes as an anchor point.
Everything is More Appealing in a Smaller Size
This sentiment even counts for trees, as it turns out. As you can see from this article, it isn’t easy to keep your hibiscus plant from getting too big. Obviously, as Bonsai Alchemists ourselves, we’d prefer you to try your hand at bonsai cultivation instead of just pruning your hibiscus bush smaller. However, it’s always good to know that there are numerous ways you can keep your hibiscus from getting too large and in charge.


